Who this is for: Accountants preparing a draft report before finalizing it.
What you’ll learn: How to work in the report workspace — the details panel, the section list, the live preview, and the PDF.
Before you begin
- Create a draft report first.
- Only drafts can be changed. Finalized reports are locked.
Step-by-step instructions
Step 1: Open the draft and find the section list
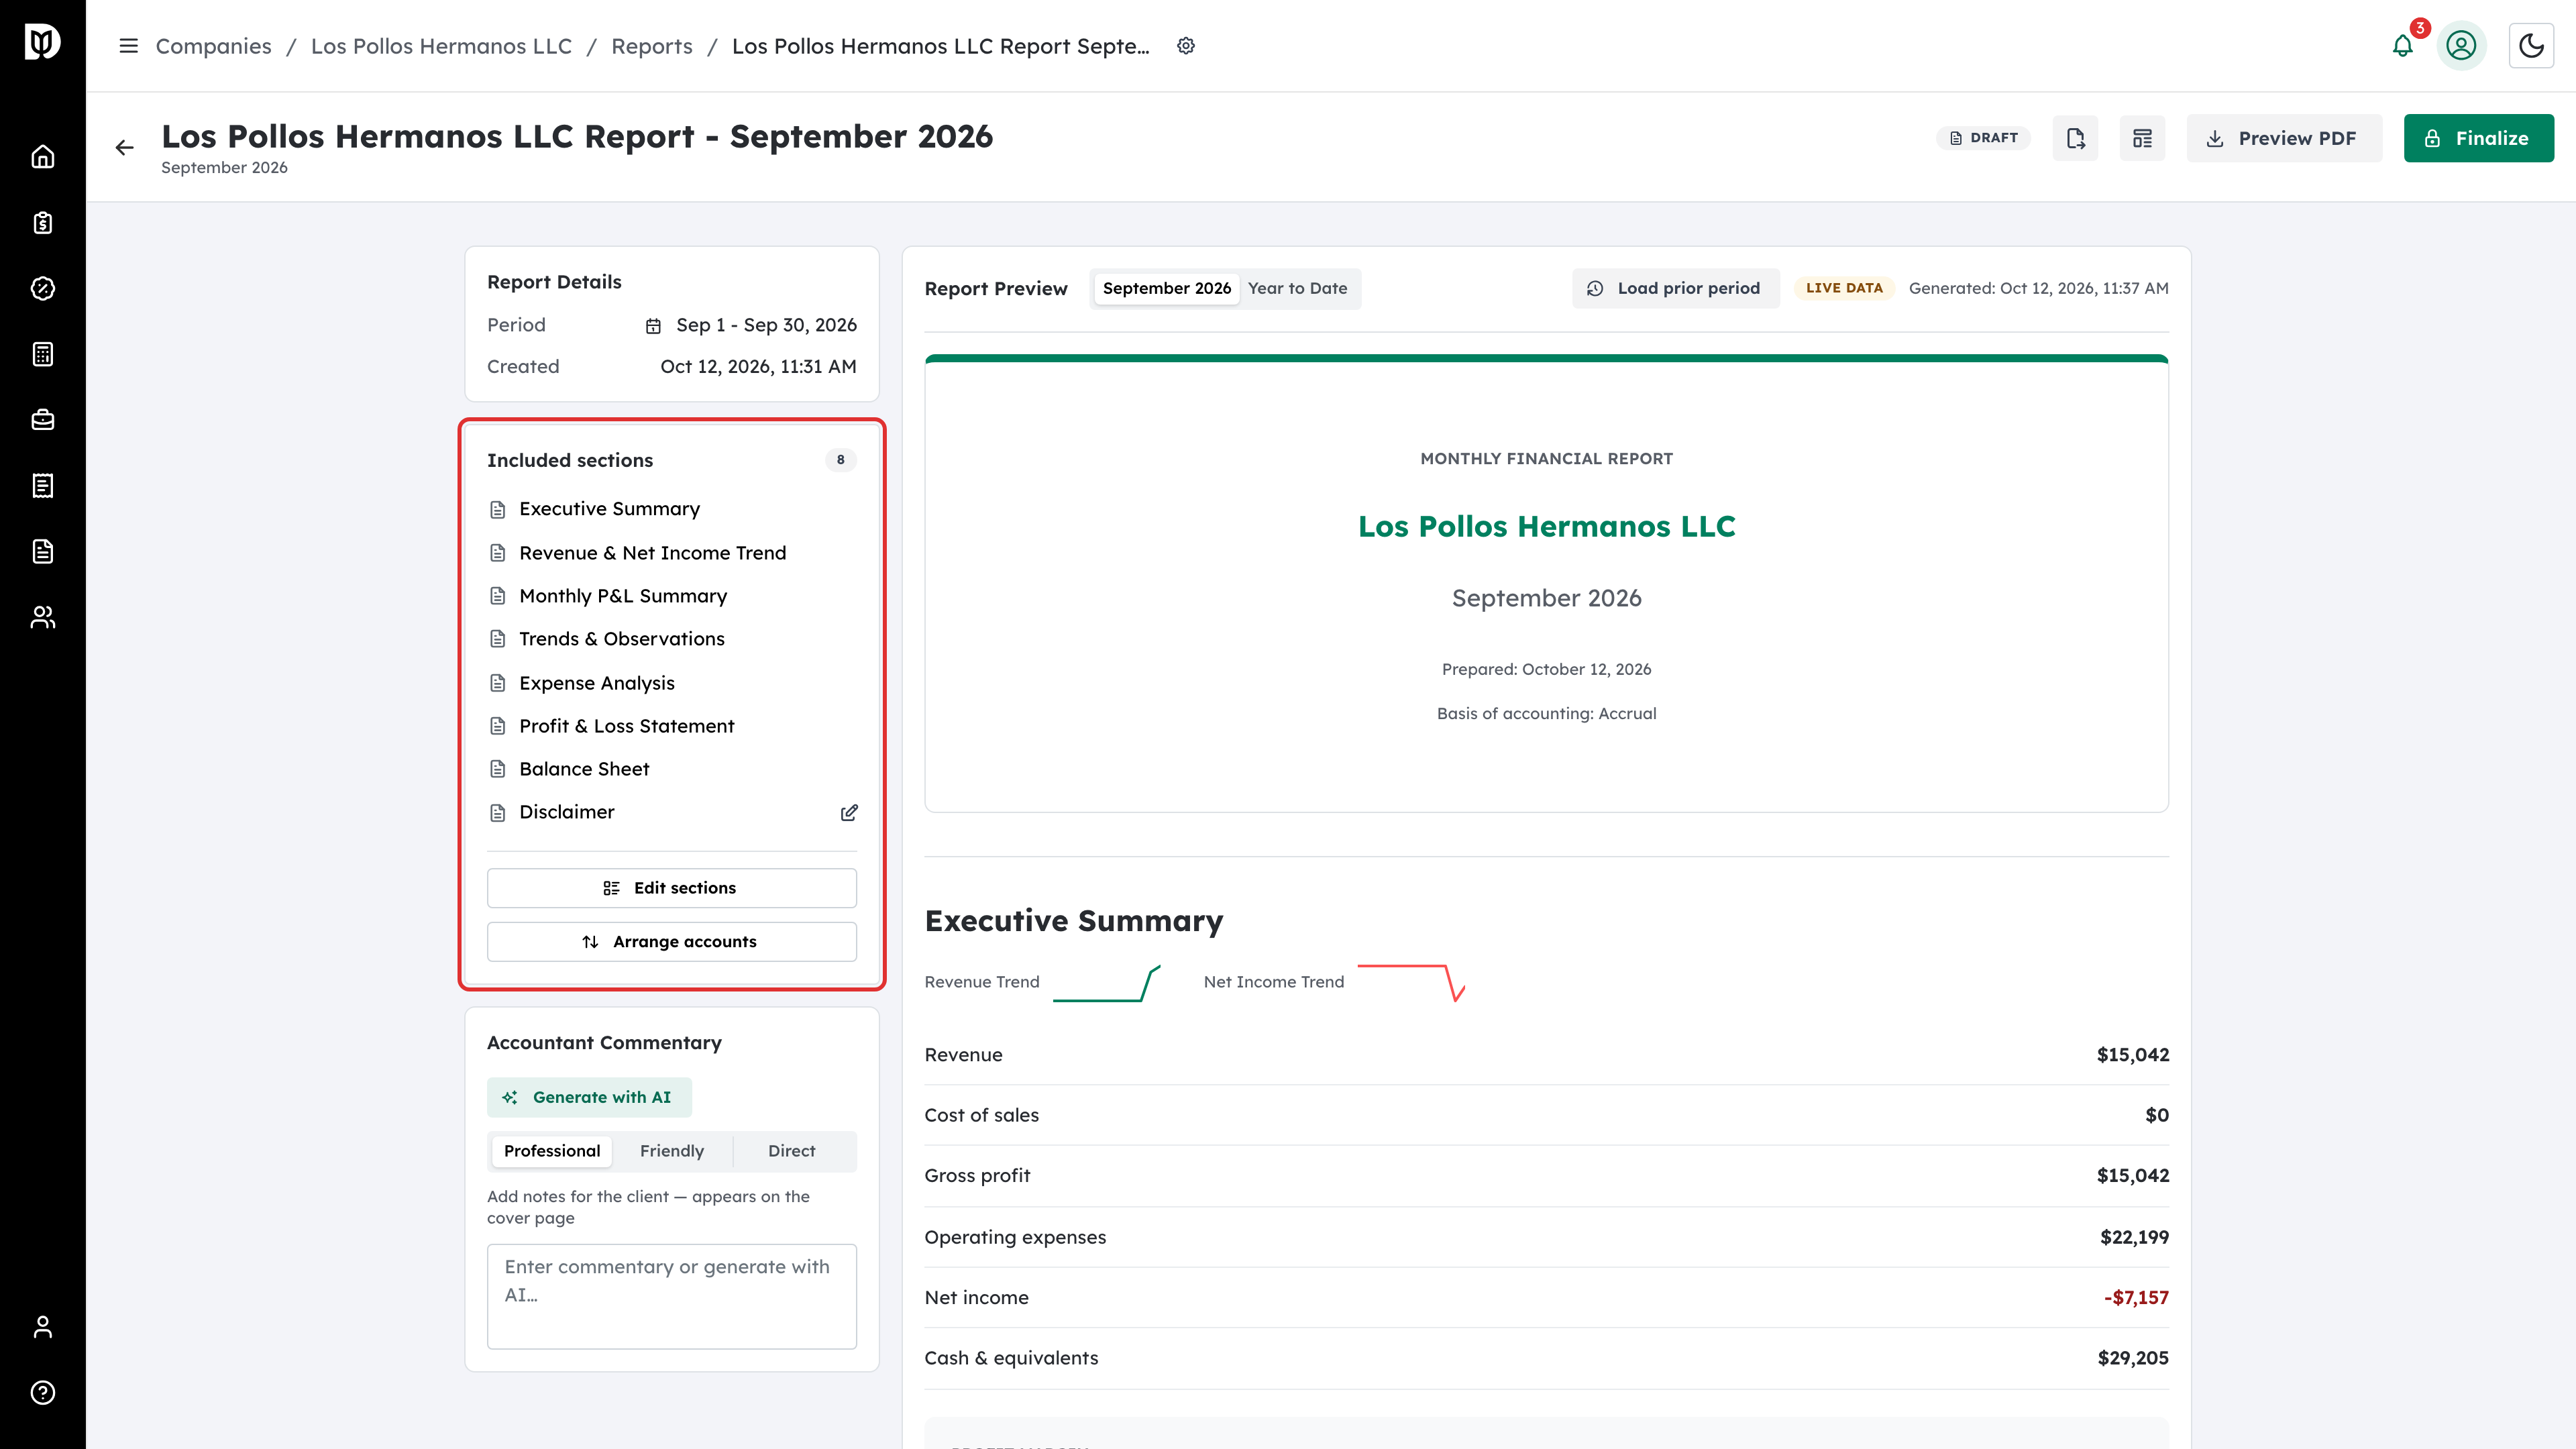
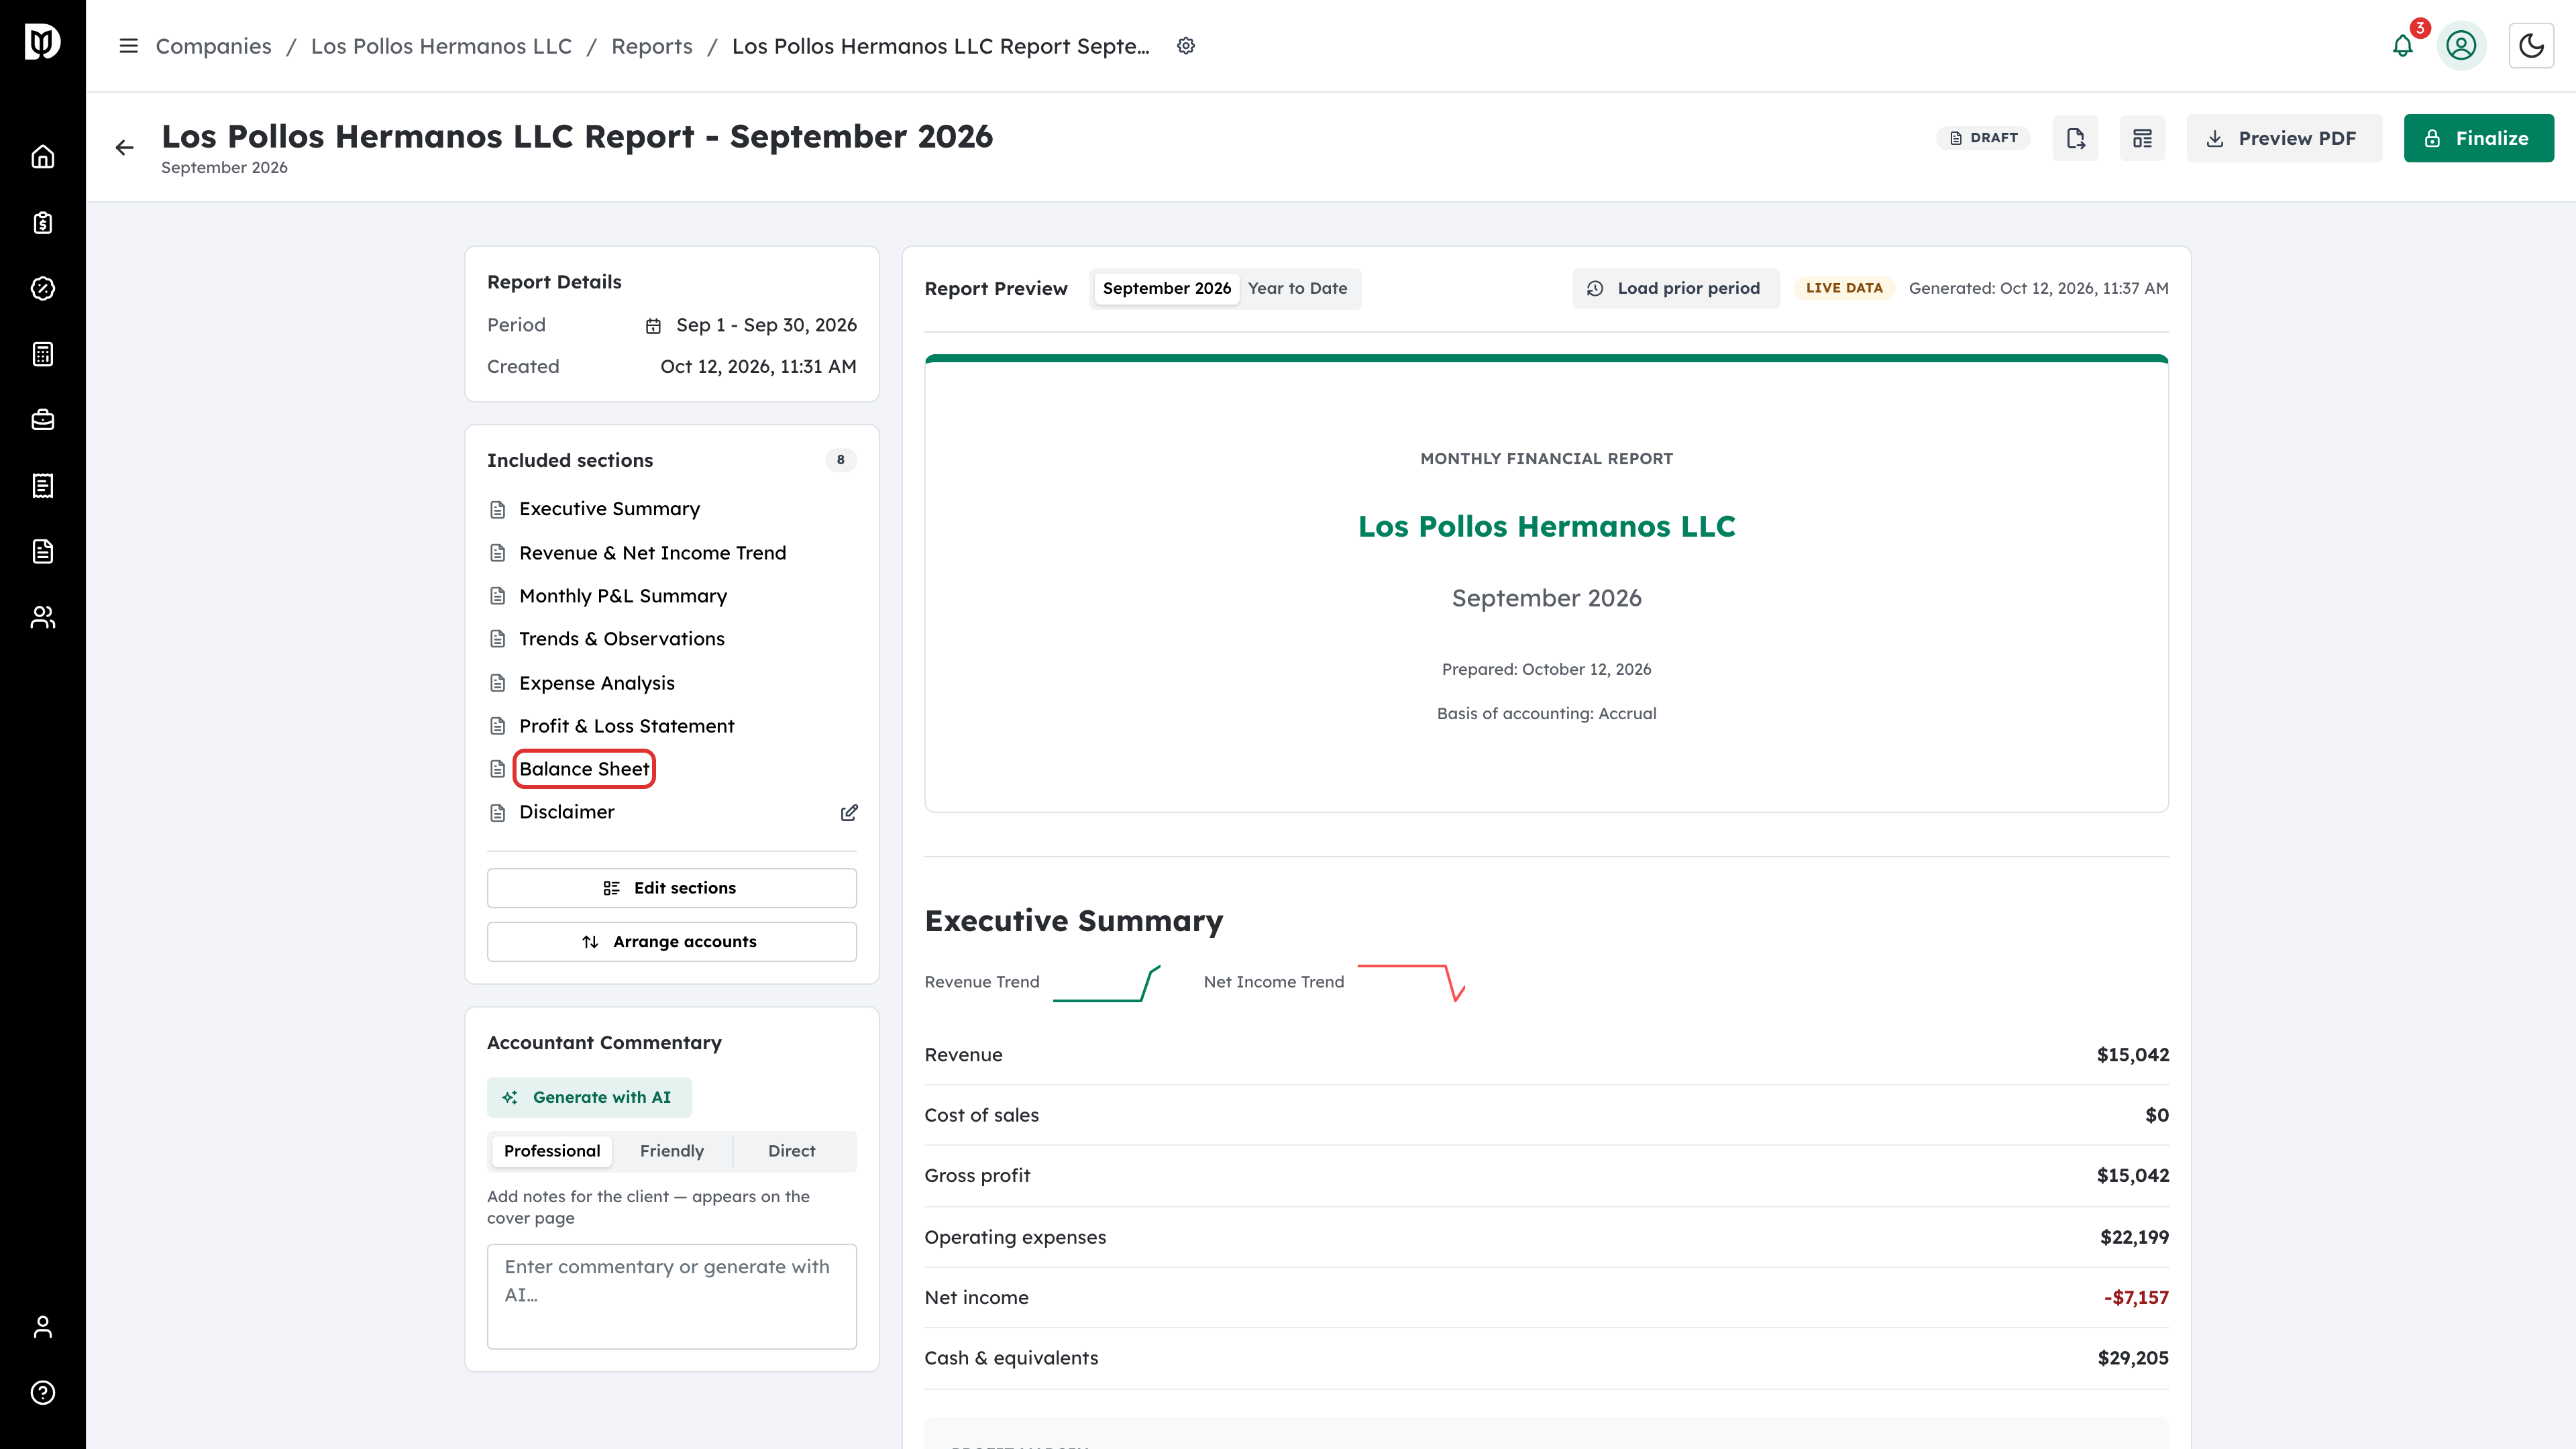
Open a draft from the Reports list. Included Sections on the left shows every section in the report, in the order the client will read them.
Step 2: Check the report details
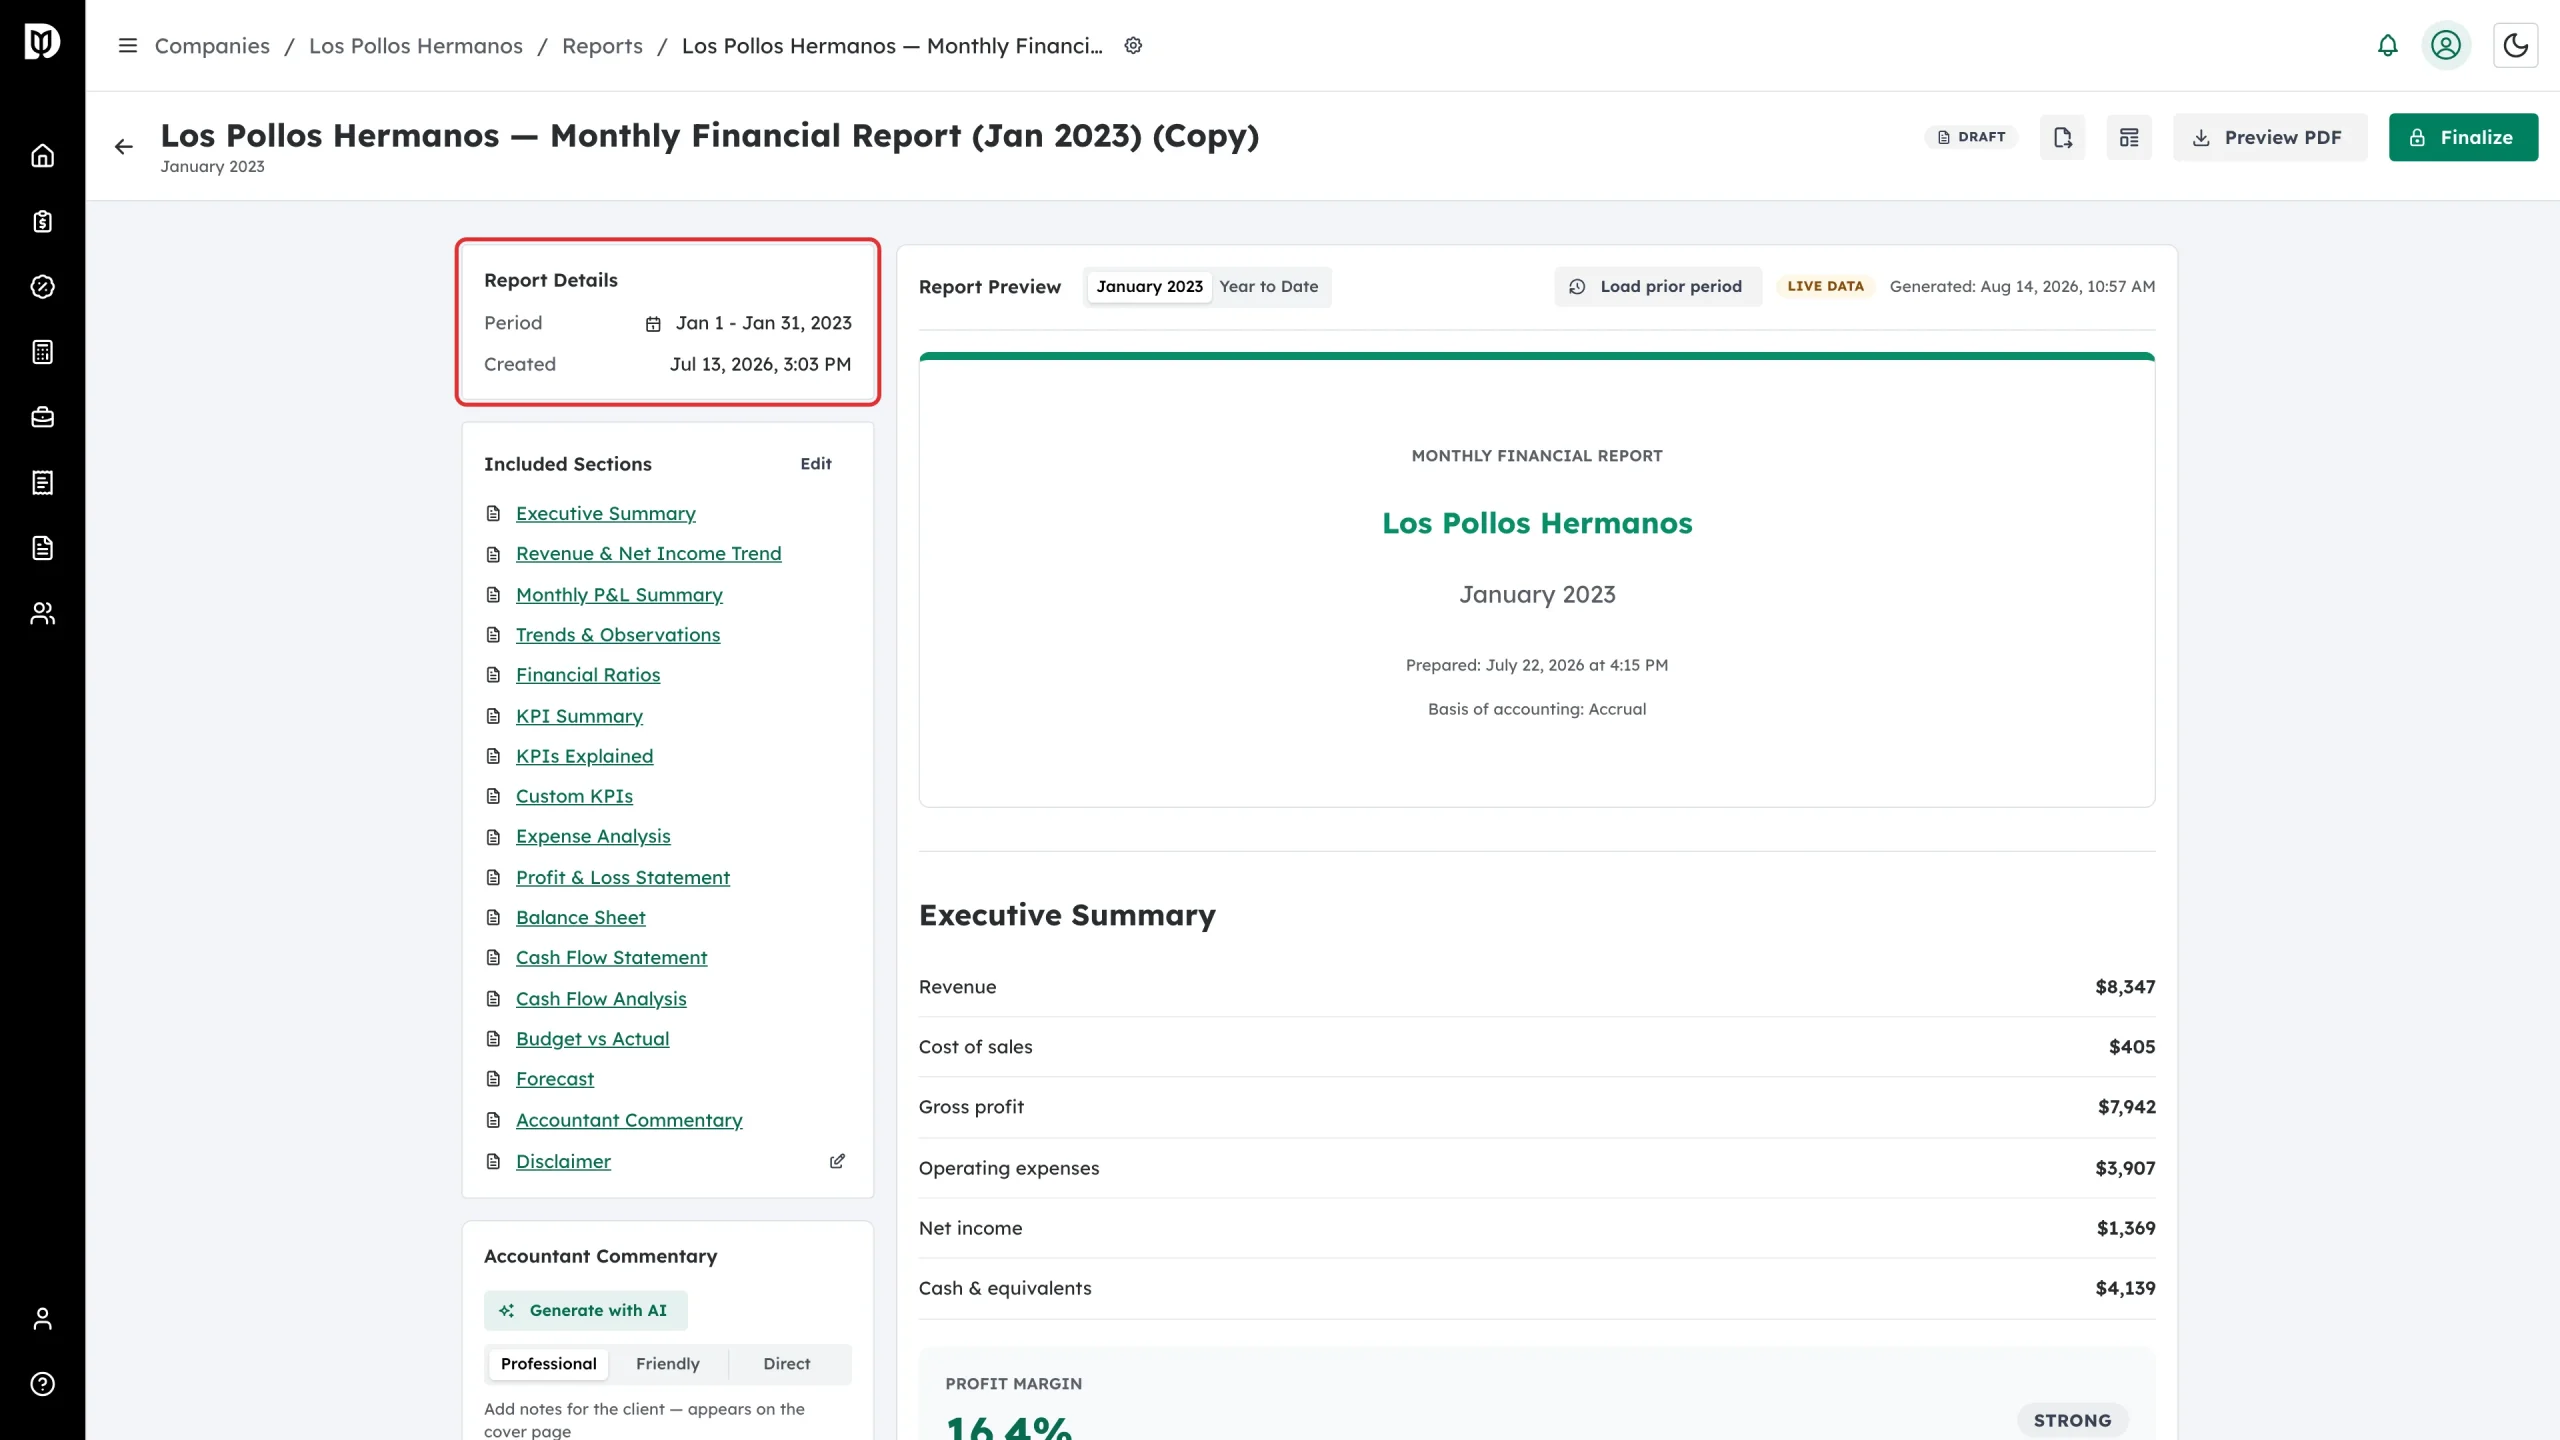
Report Details shows the period the report covers and when it was created. Once a report is finalized, it also shows the finalized date and whether a QuickBooks closing date was set.
Step 3: Switch between the month and year to date
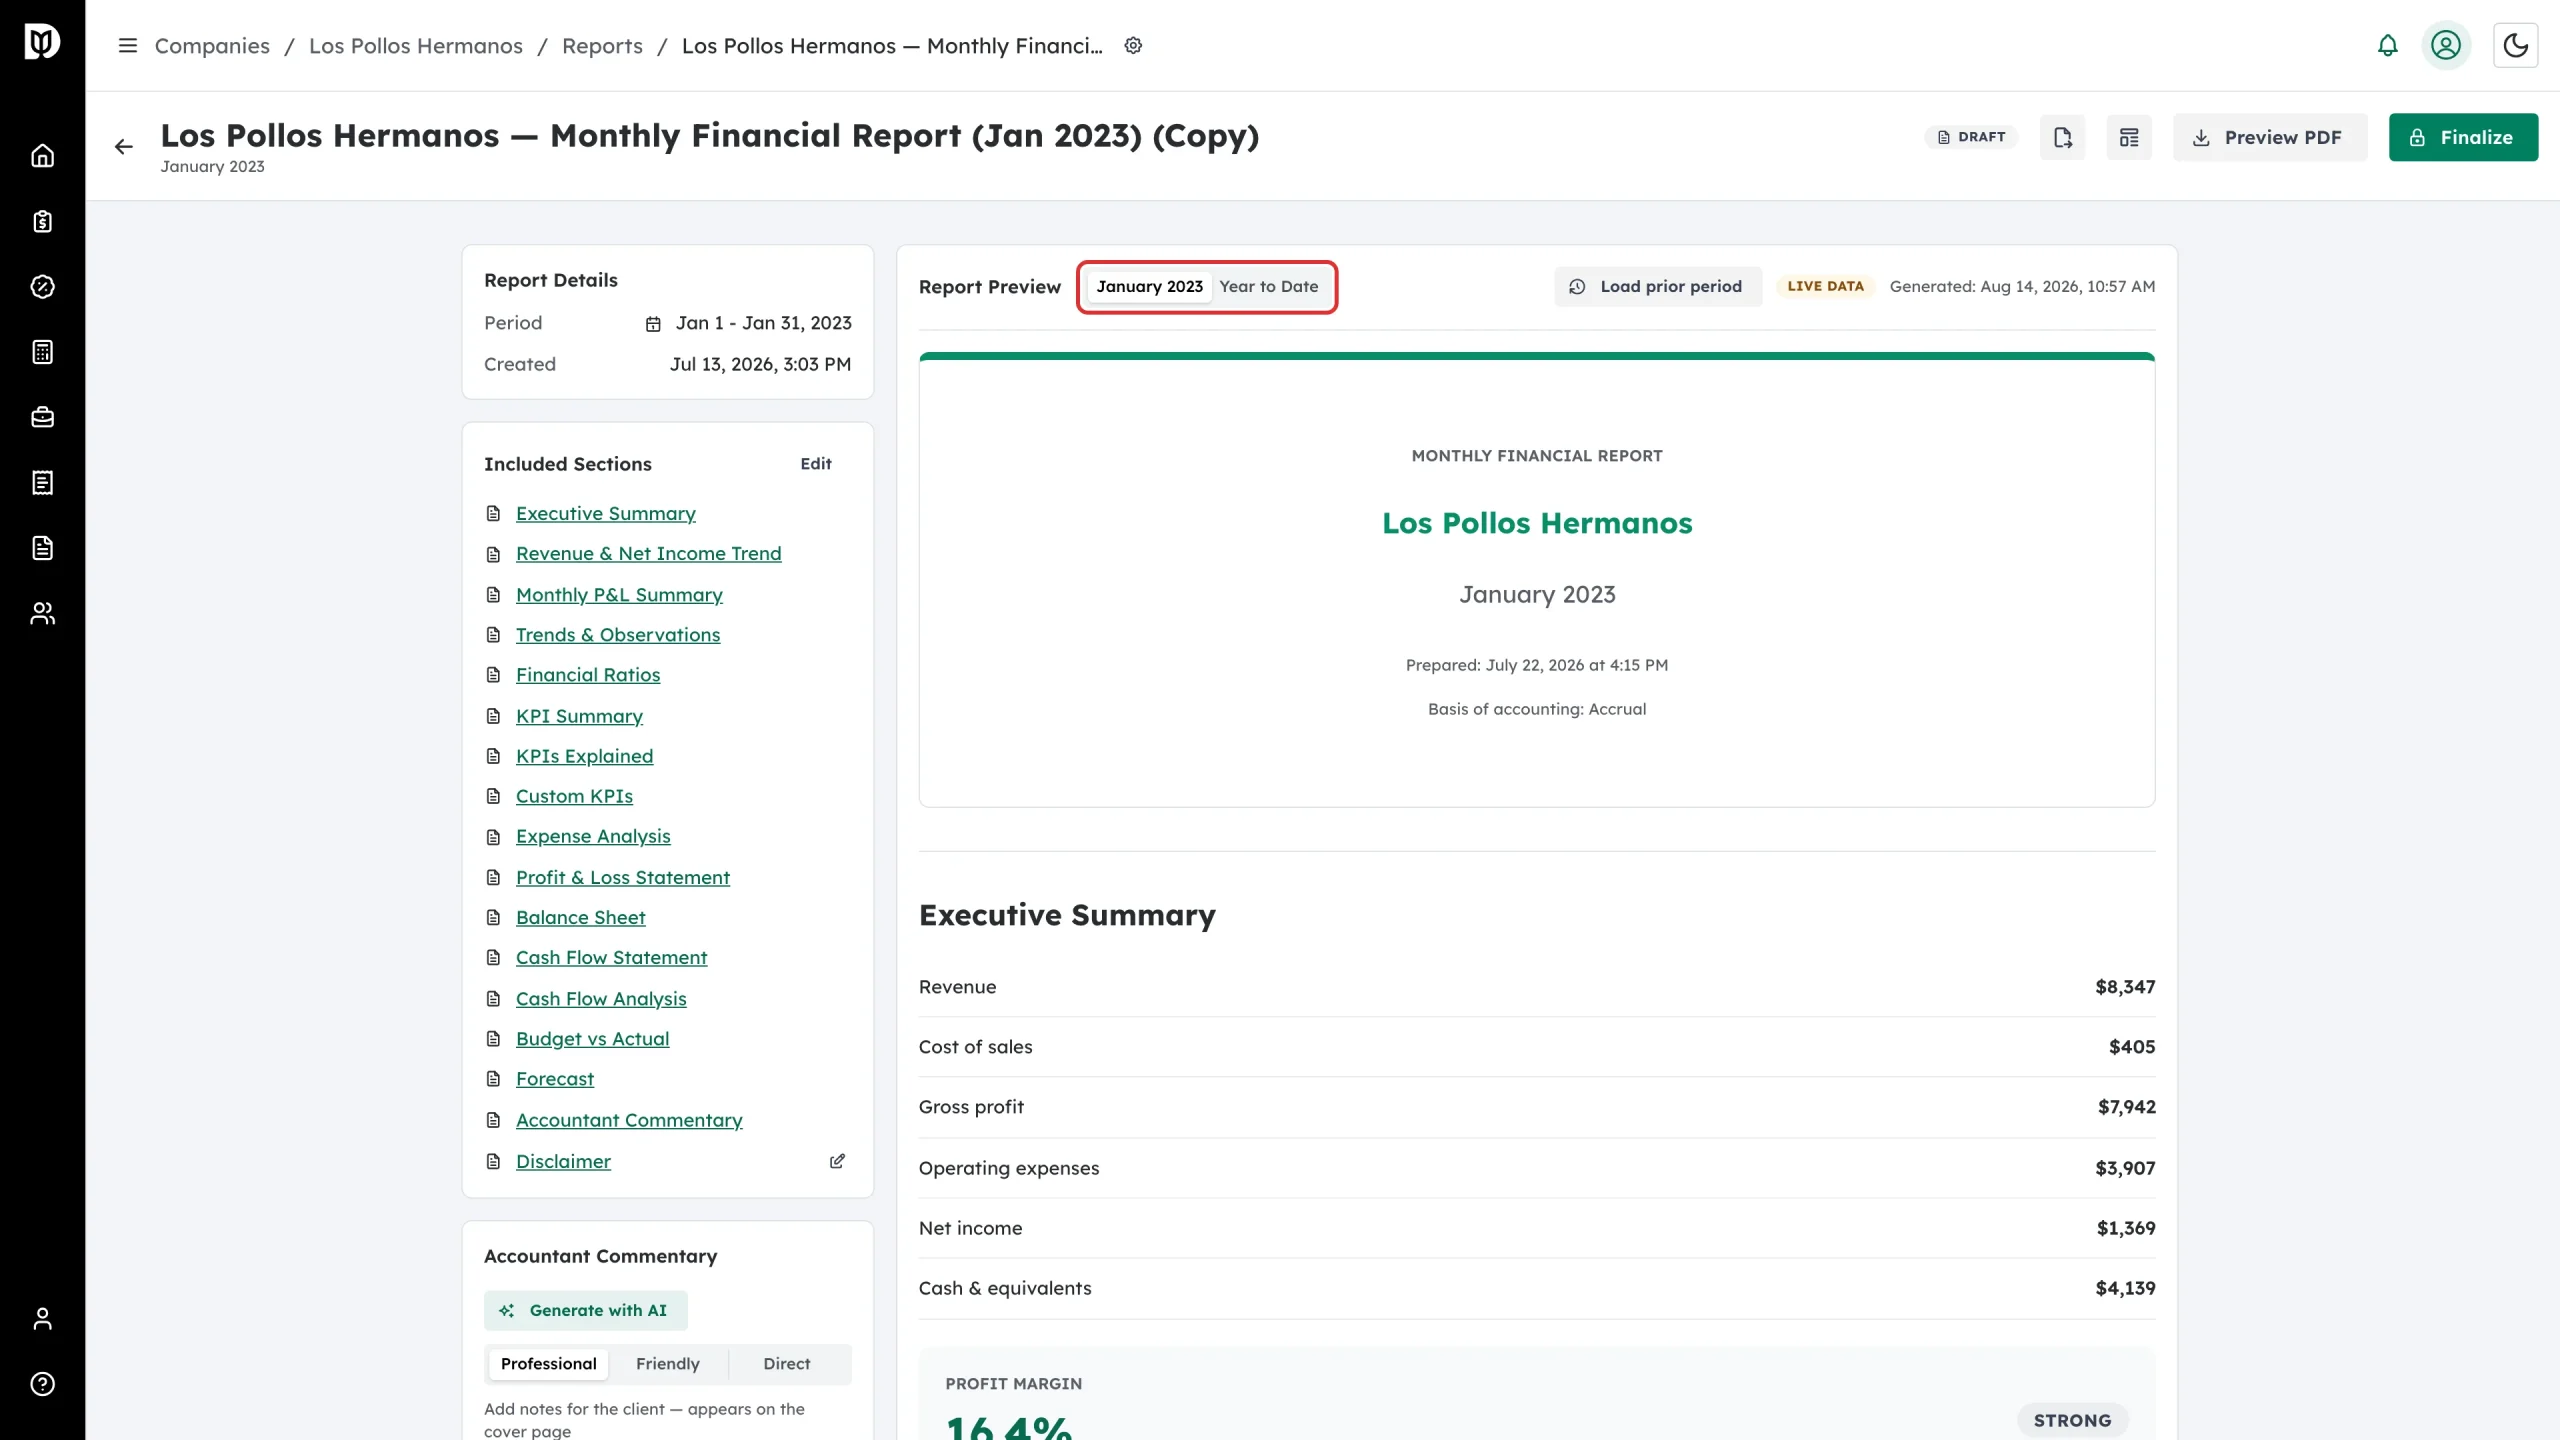
In the preview header, use the toggle to switch between the report month and Year to Date.
Step 4: Load the prior period for comparisons
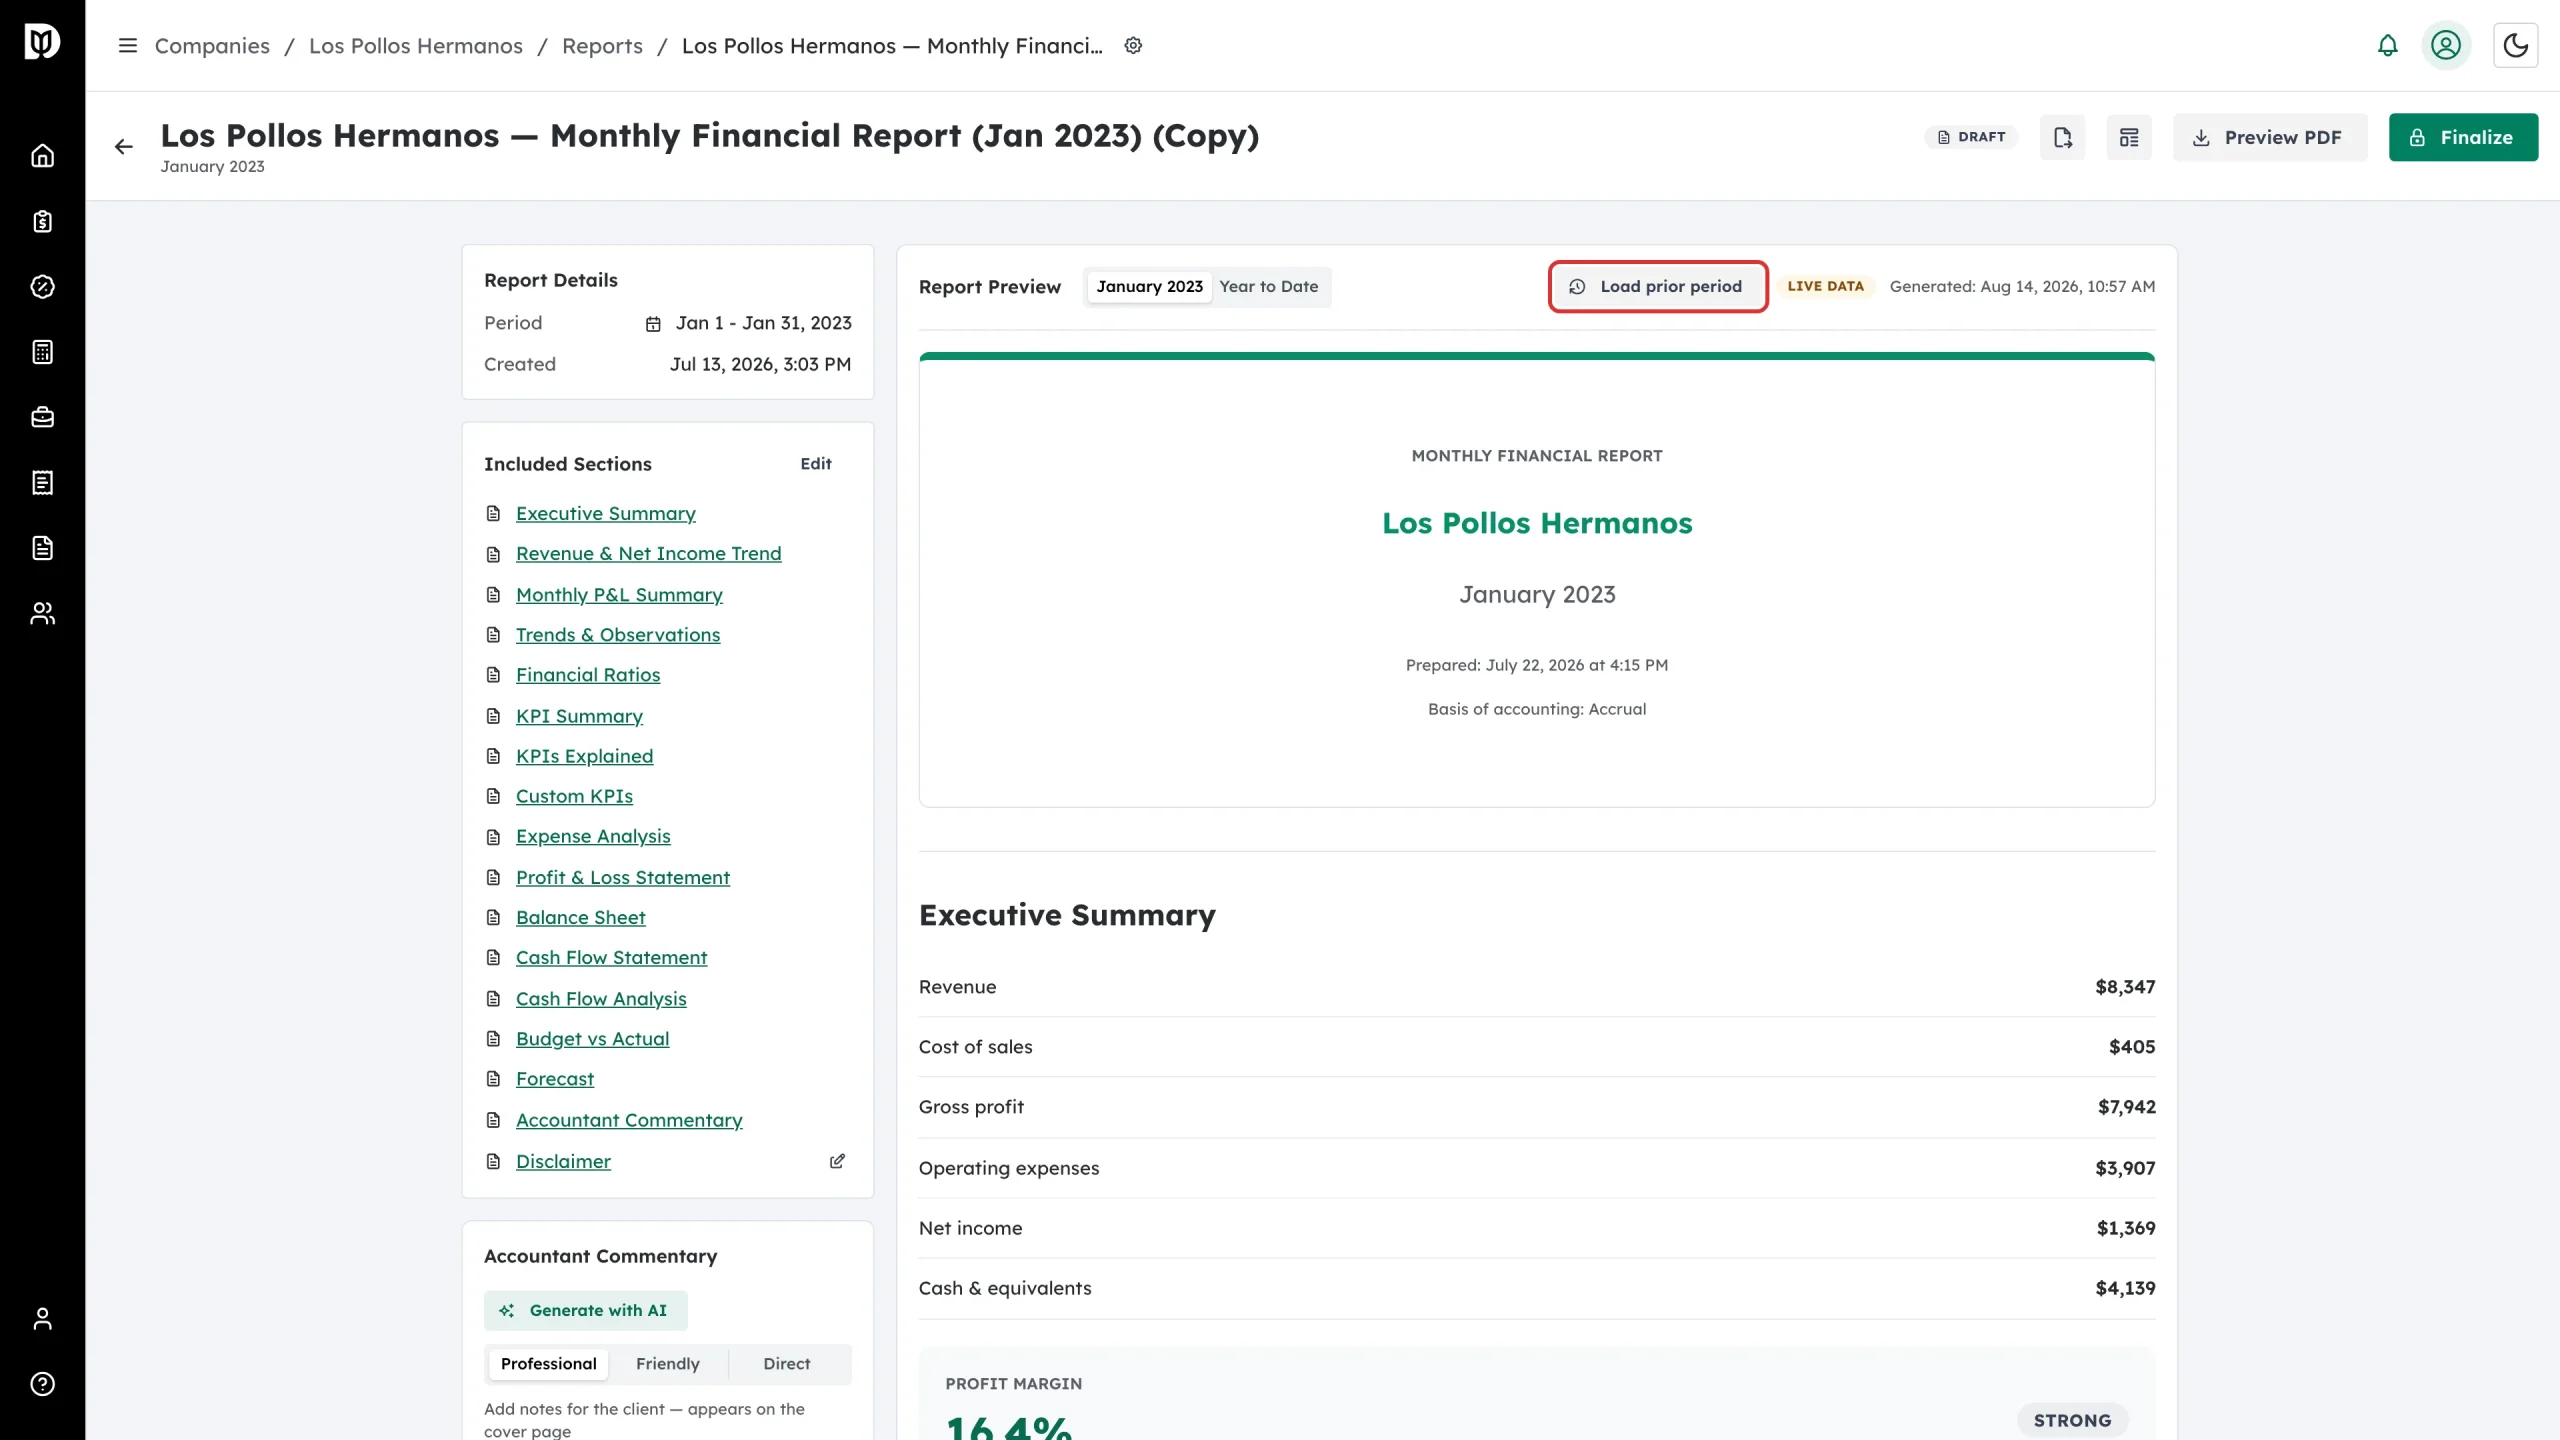
Select Load prior period to pull the previous period so the report can show period-over-period comparison columns. Once loaded, the button turns green and names the period it pulled.
Step 5: Jump to any section
Select a section name in Included Sections to jump straight to it in the preview.
Step 6: Preview the PDF
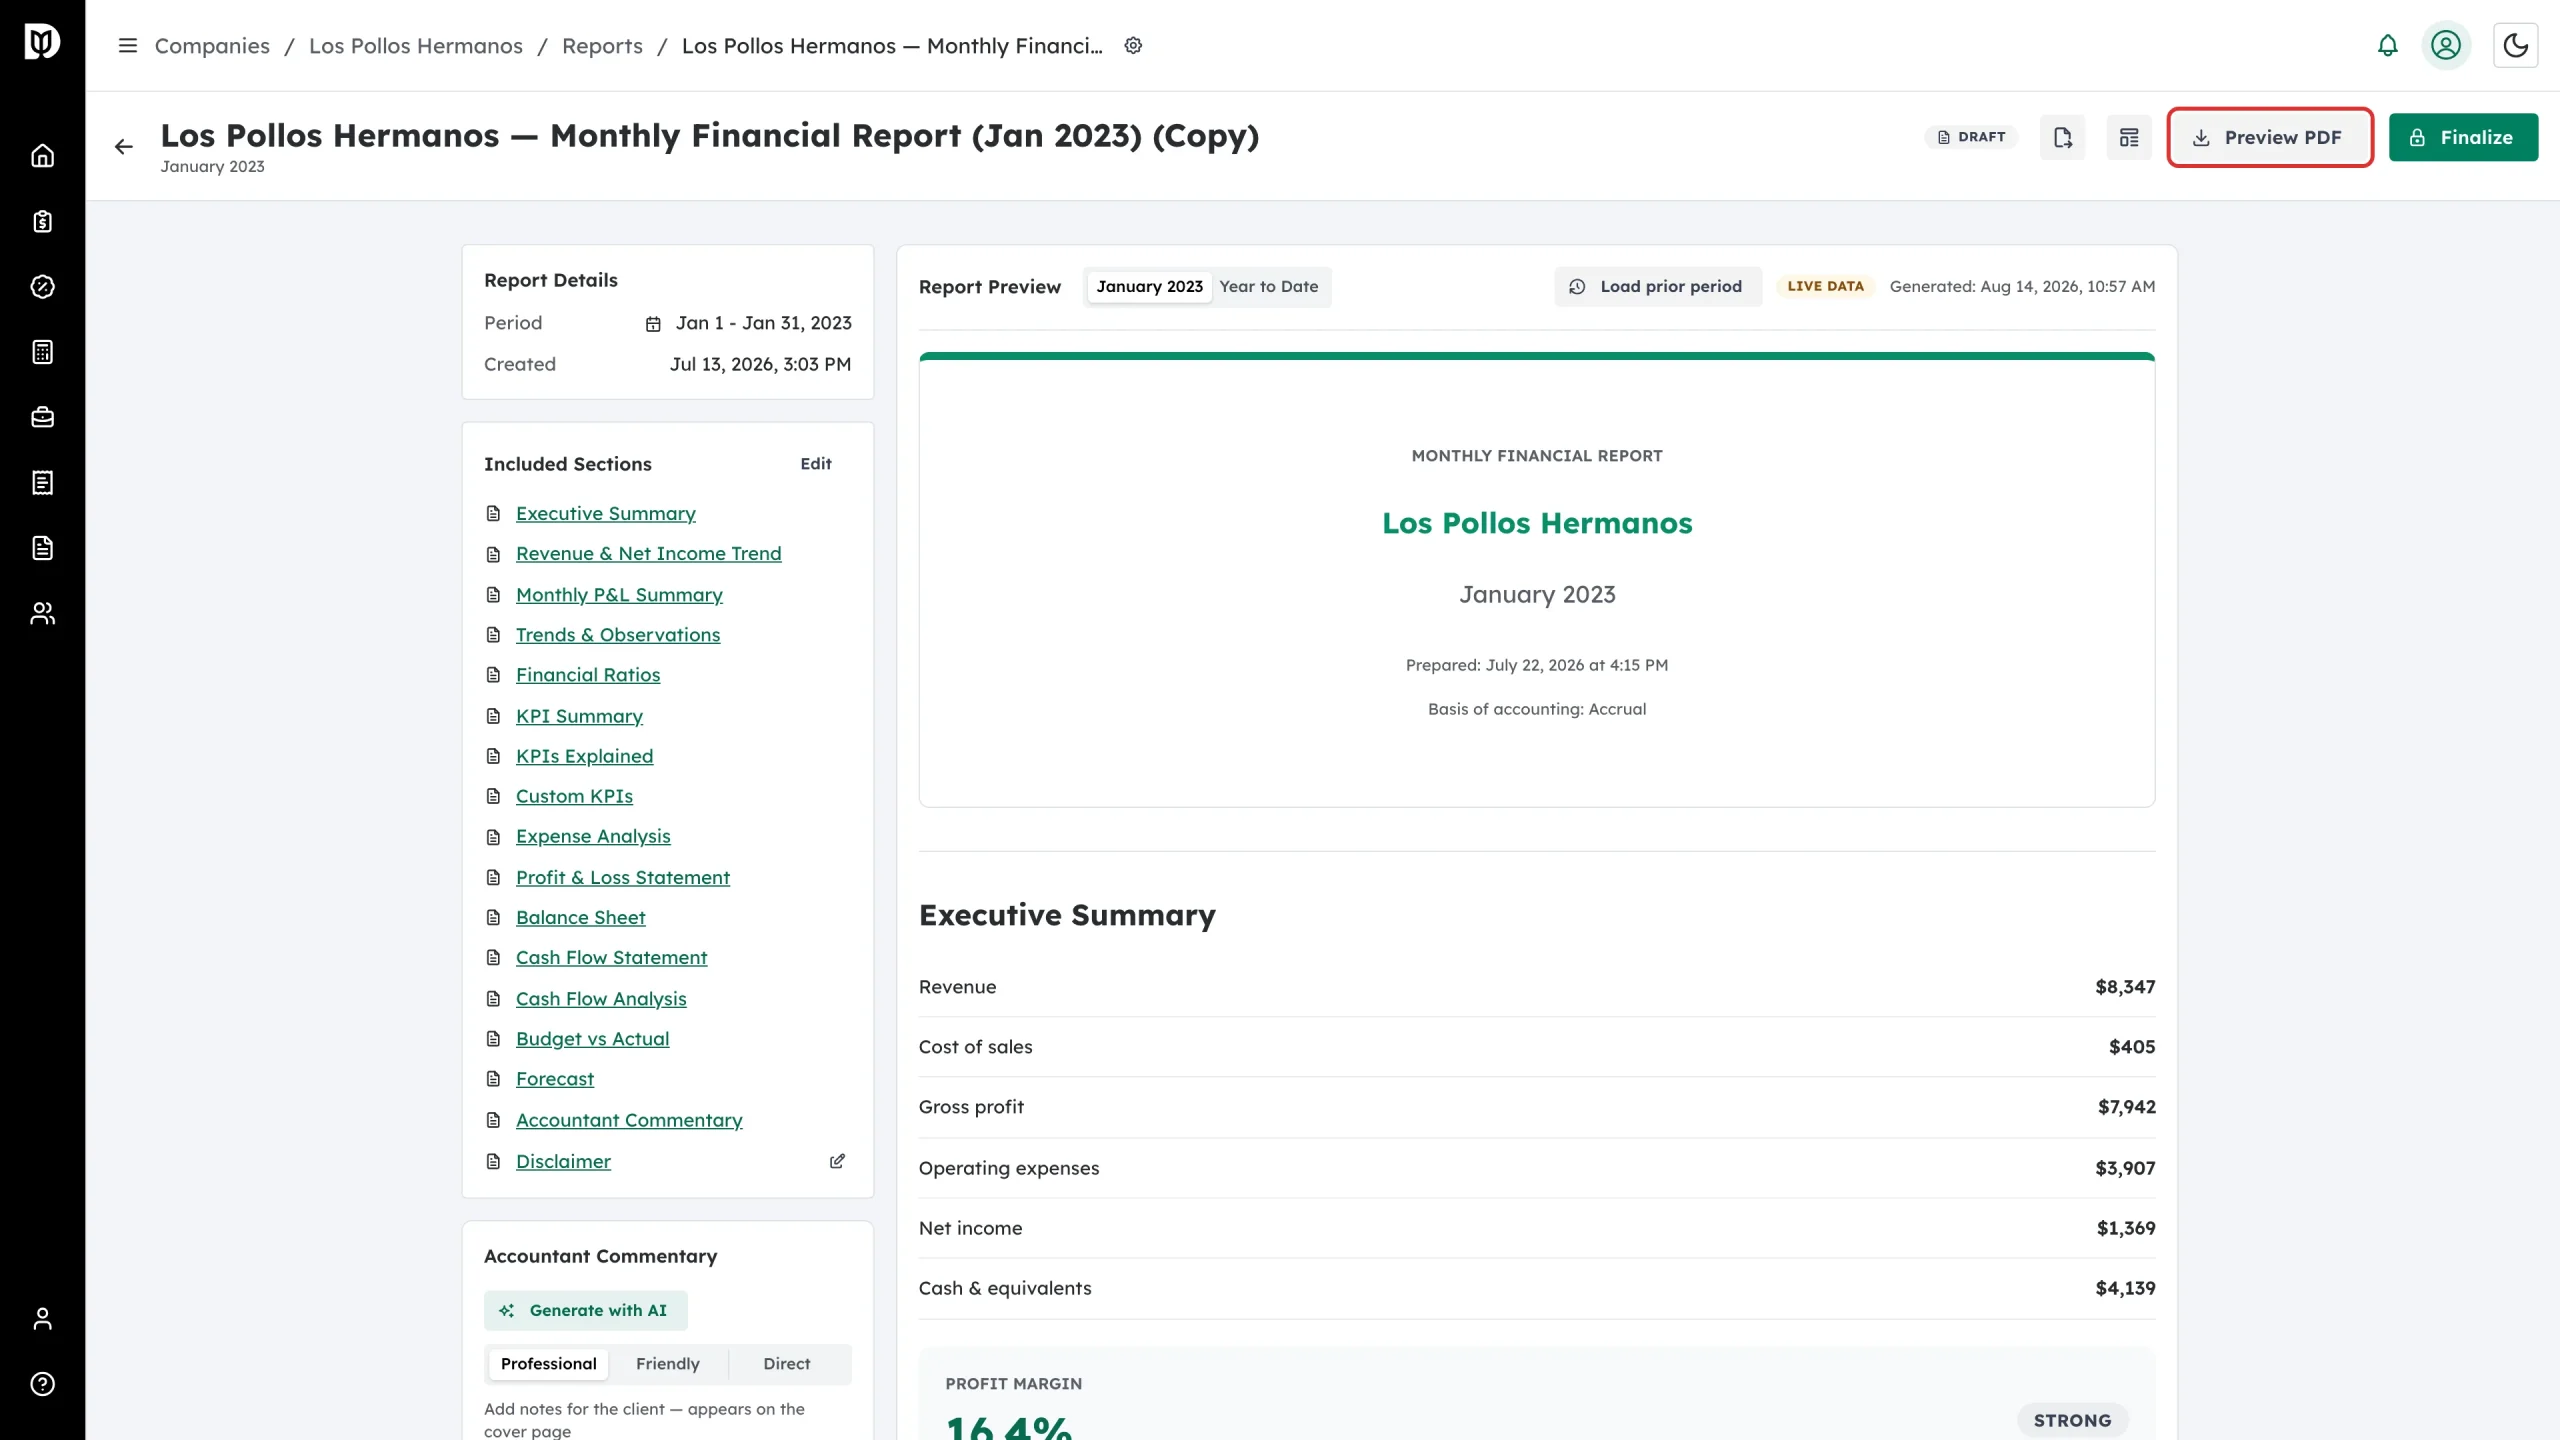
Select Preview PDF to build the print-ready PDF exactly as your client will receive it. Debits shows a progress window and downloads the file when it is ready.
What happens next
When the report looks right, finalize it to lock the figures into a permanent snapshot, then deliver it to your client.
Troubleshooting
- A section is missing from the preview. Select Edit sections under Included Sections and confirm the section is ticked.
- Preview PDF is greyed out. The report needs either live QuickBooks data or a finalized snapshot.
- Budget vs Actual says no budget is set. Budgets are set on the Budgeting view of the Reports workspace, not in the report itself.