Who this is for: Accountants who are ready to send a prepared return to the client for signature.
What you’ll learn: How to pick the verification method, check the client email, and send.
Before you begin
- The tax delivery must still be a Draft.
- At least one signer must be added.
- At least one PDF must have its signature fields configured.
- You need the Send bulk reminders, send for signature, and file tax permission. It is off by default for staff; ask an owner or admin to switch it on in your staff settings.
- To make the client pay before signing, hold documents behind an invoice first. On the Documents tab, click the padlock on a document’s row. In Hold this document behind an invoice, pick the client under Invoice from and the invoice under Released by, then click Hold document. The client cannot sign or download that document until the invoice is paid.
What it costs
E-signatures in Debits are unlimited and free. The only charge is optional identity verification (KBA), billed at $1.00 per signer. Debits shows the exact figure before you send.
Step-by-step instructions
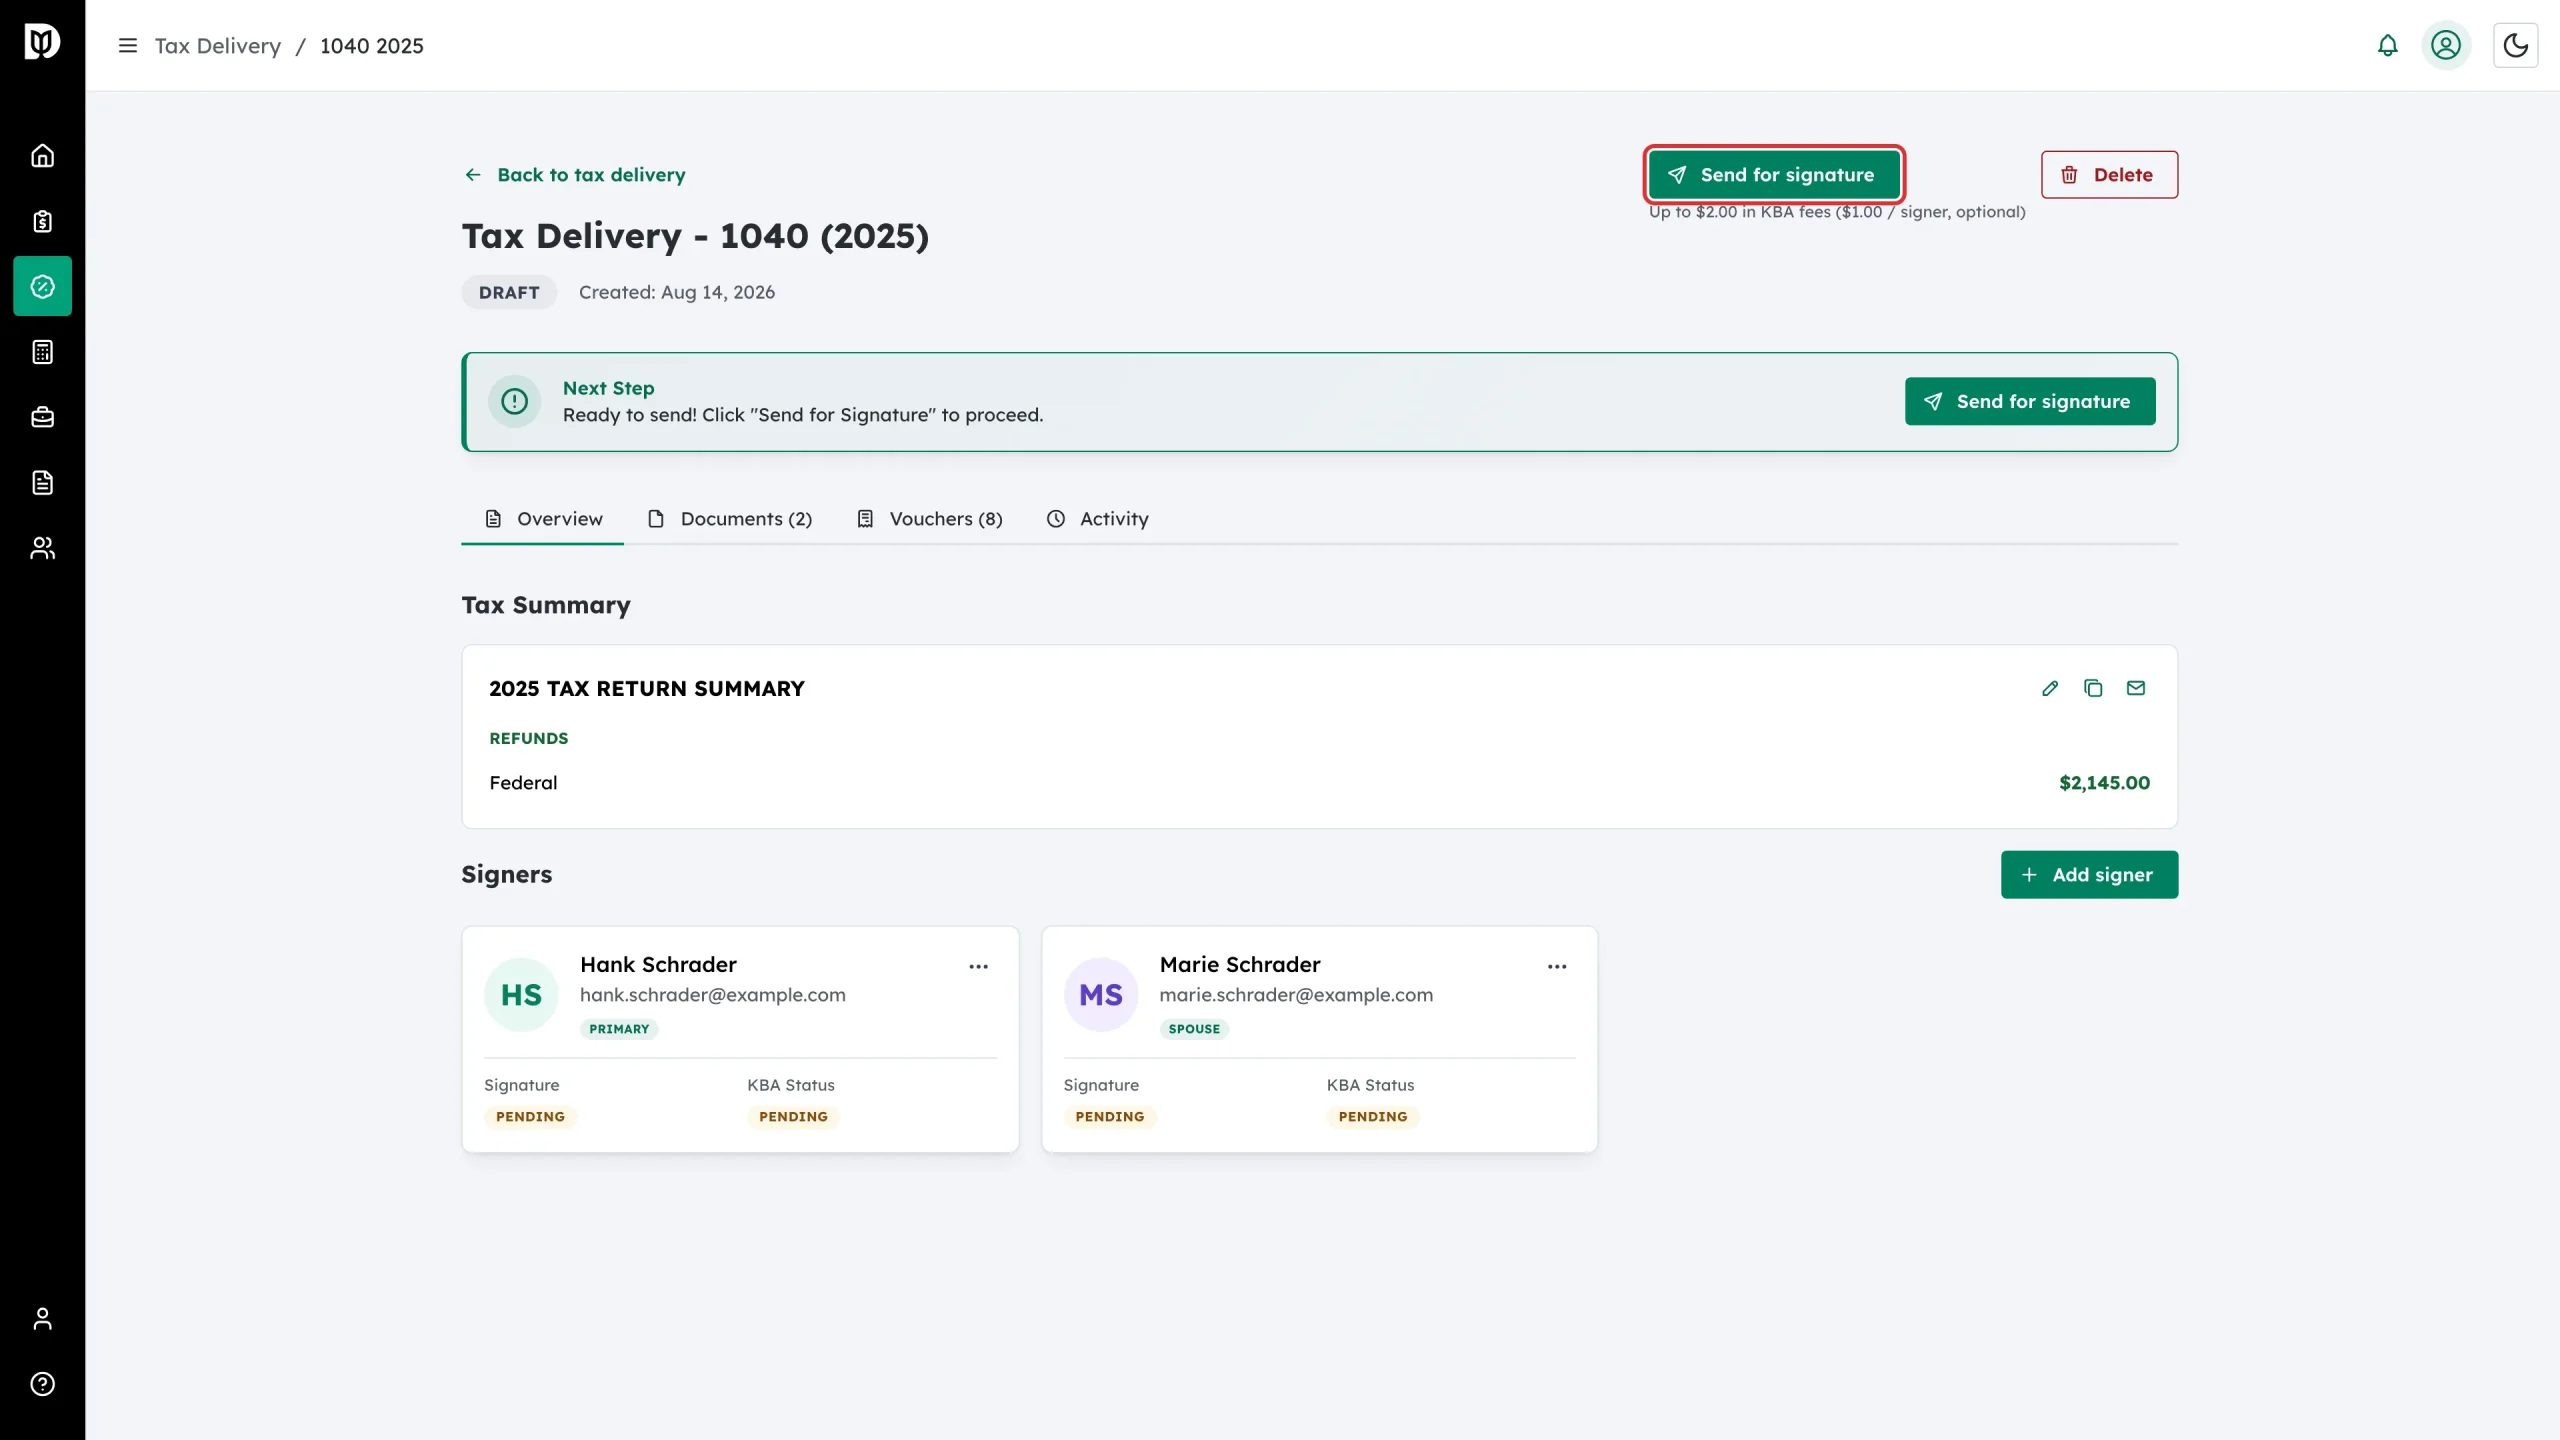
Step 1: Click Send for signature
Click Send for signature at the top of the tax delivery, or the matching button in the Next Step card. The note underneath tells you the maximum KBA fee for this return.
Step 2: Choose the verification type
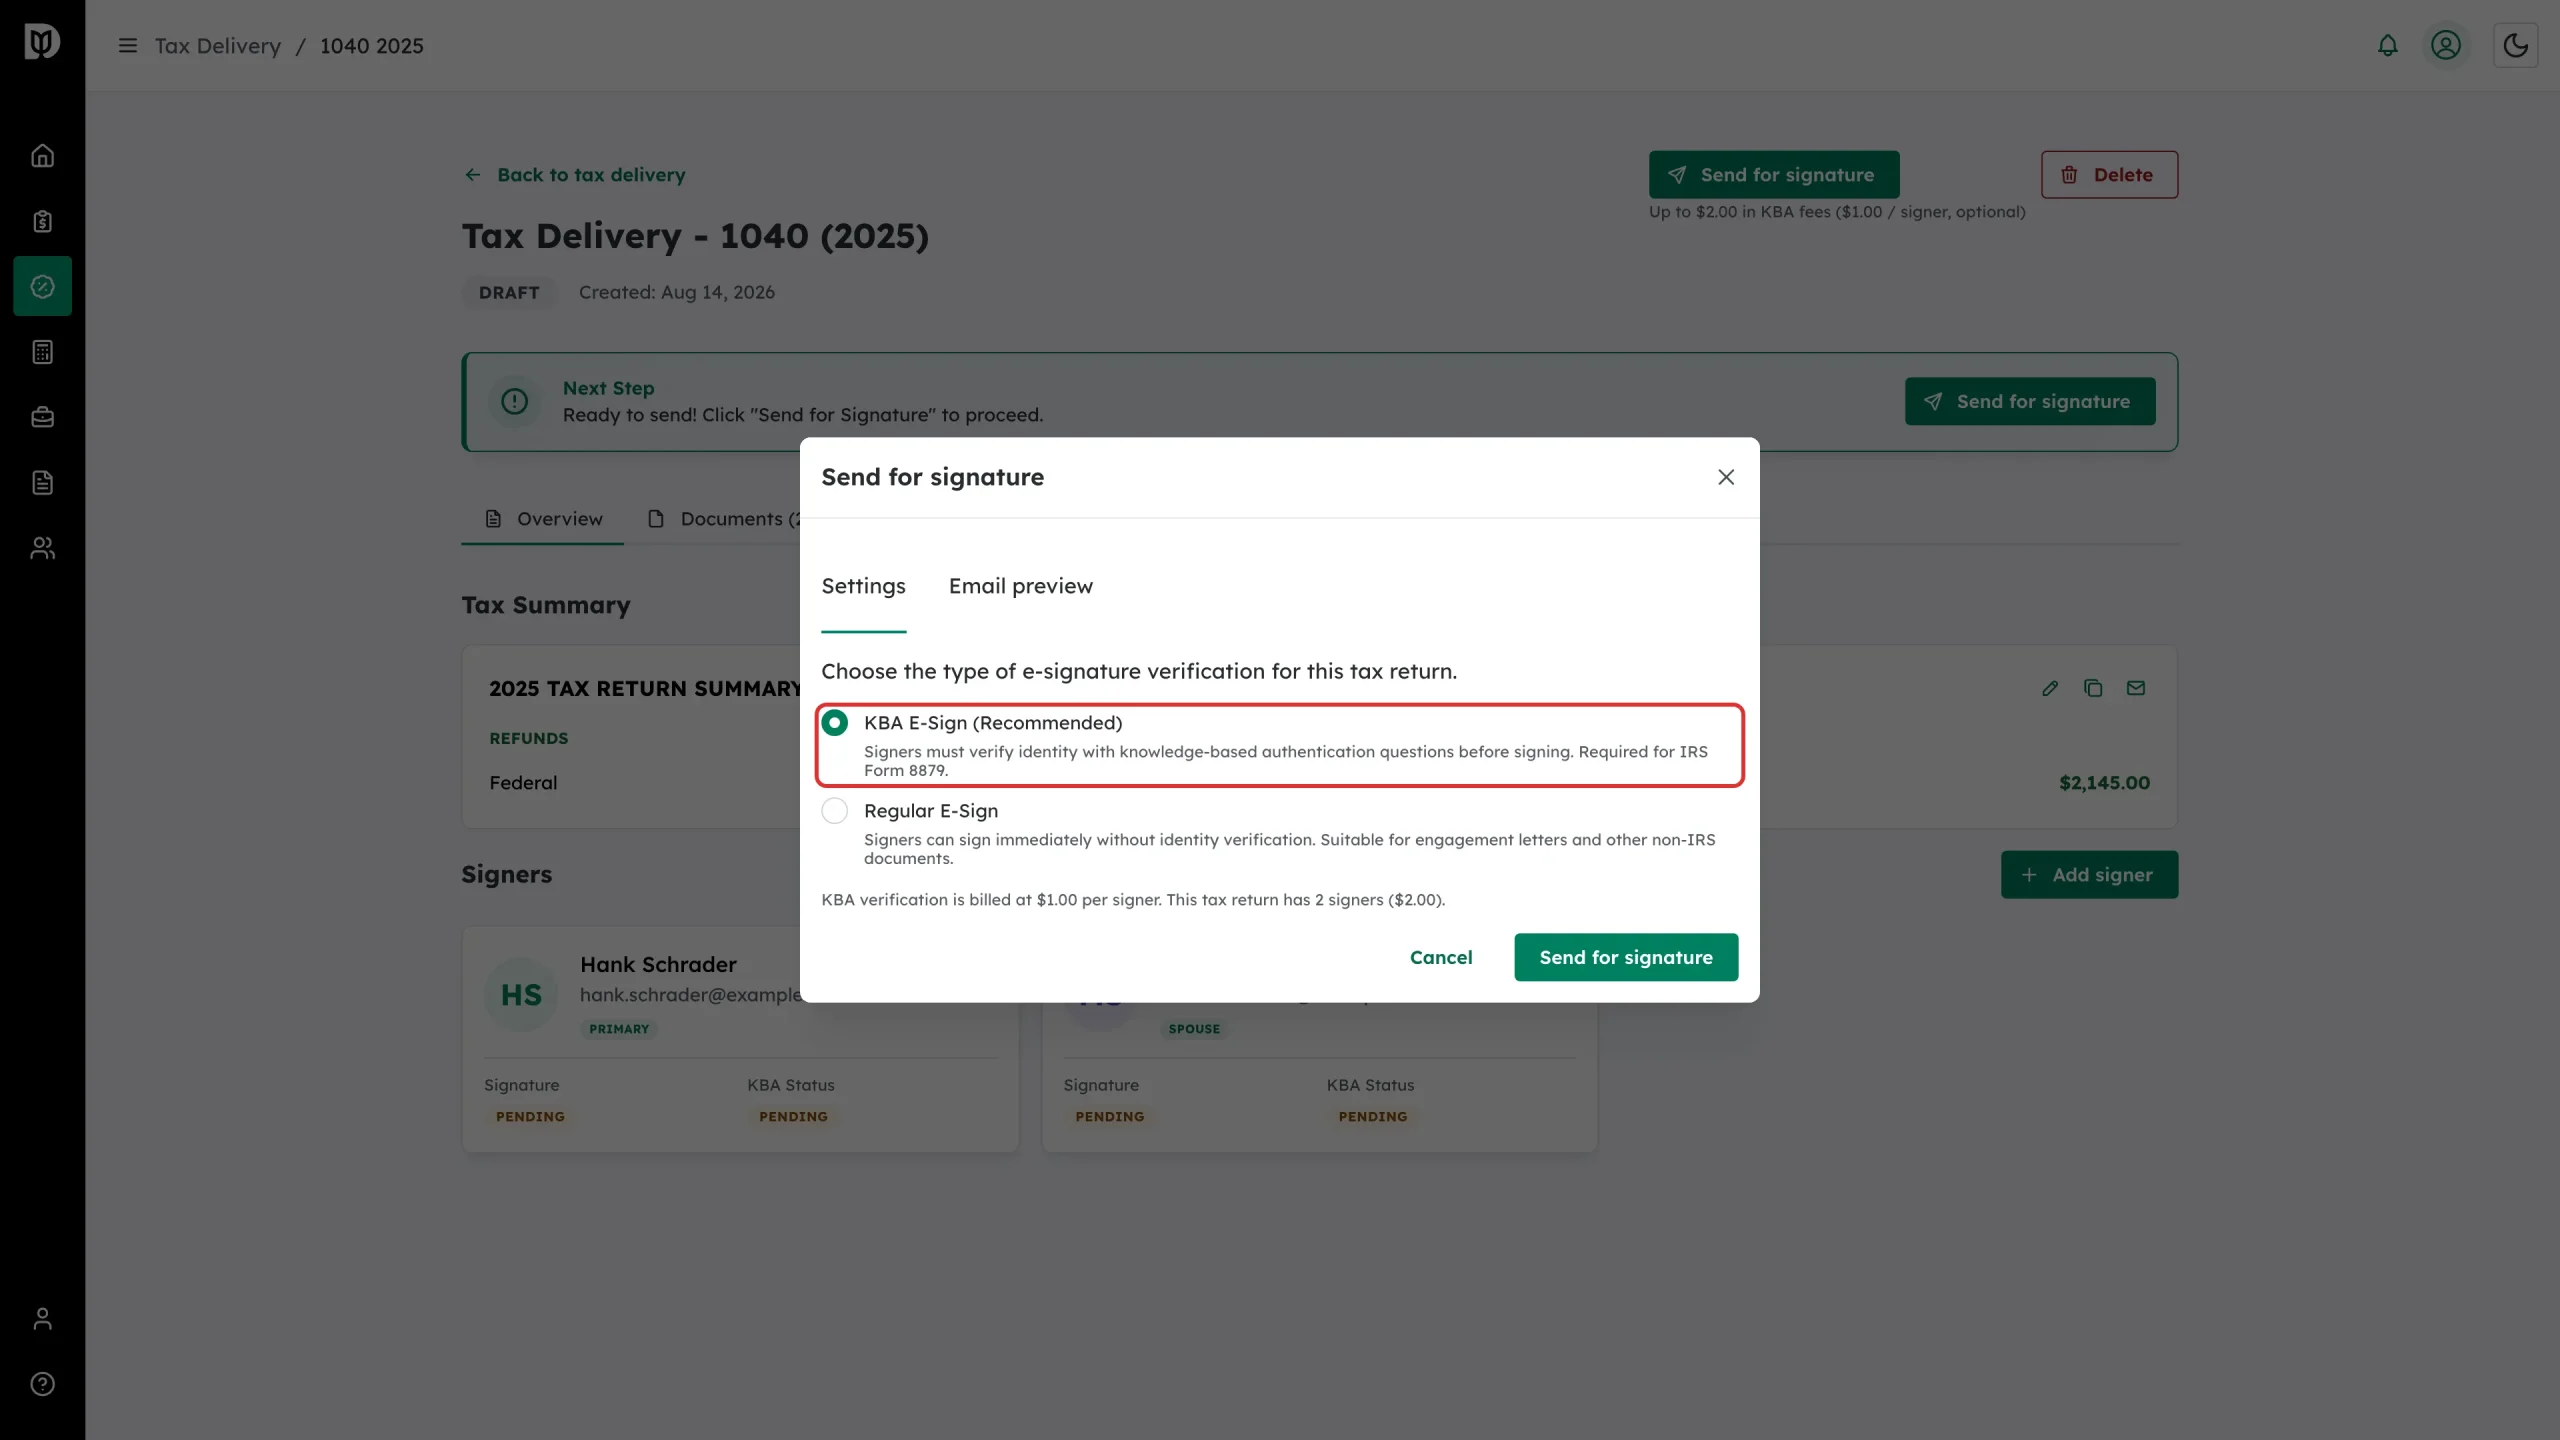
On the Settings tab, pick one:
- KBA E-Sign (Recommended) – signers answer knowledge-based authentication questions before they can sign. Required for IRS Form 8879.
- Regular E-Sign – signers can sign straight away with no identity check. Suitable for engagement letters and other non-IRS documents.
The line below the options shows the KBA total for this return, for example “This tax return has 2 signers ($2.00)”.
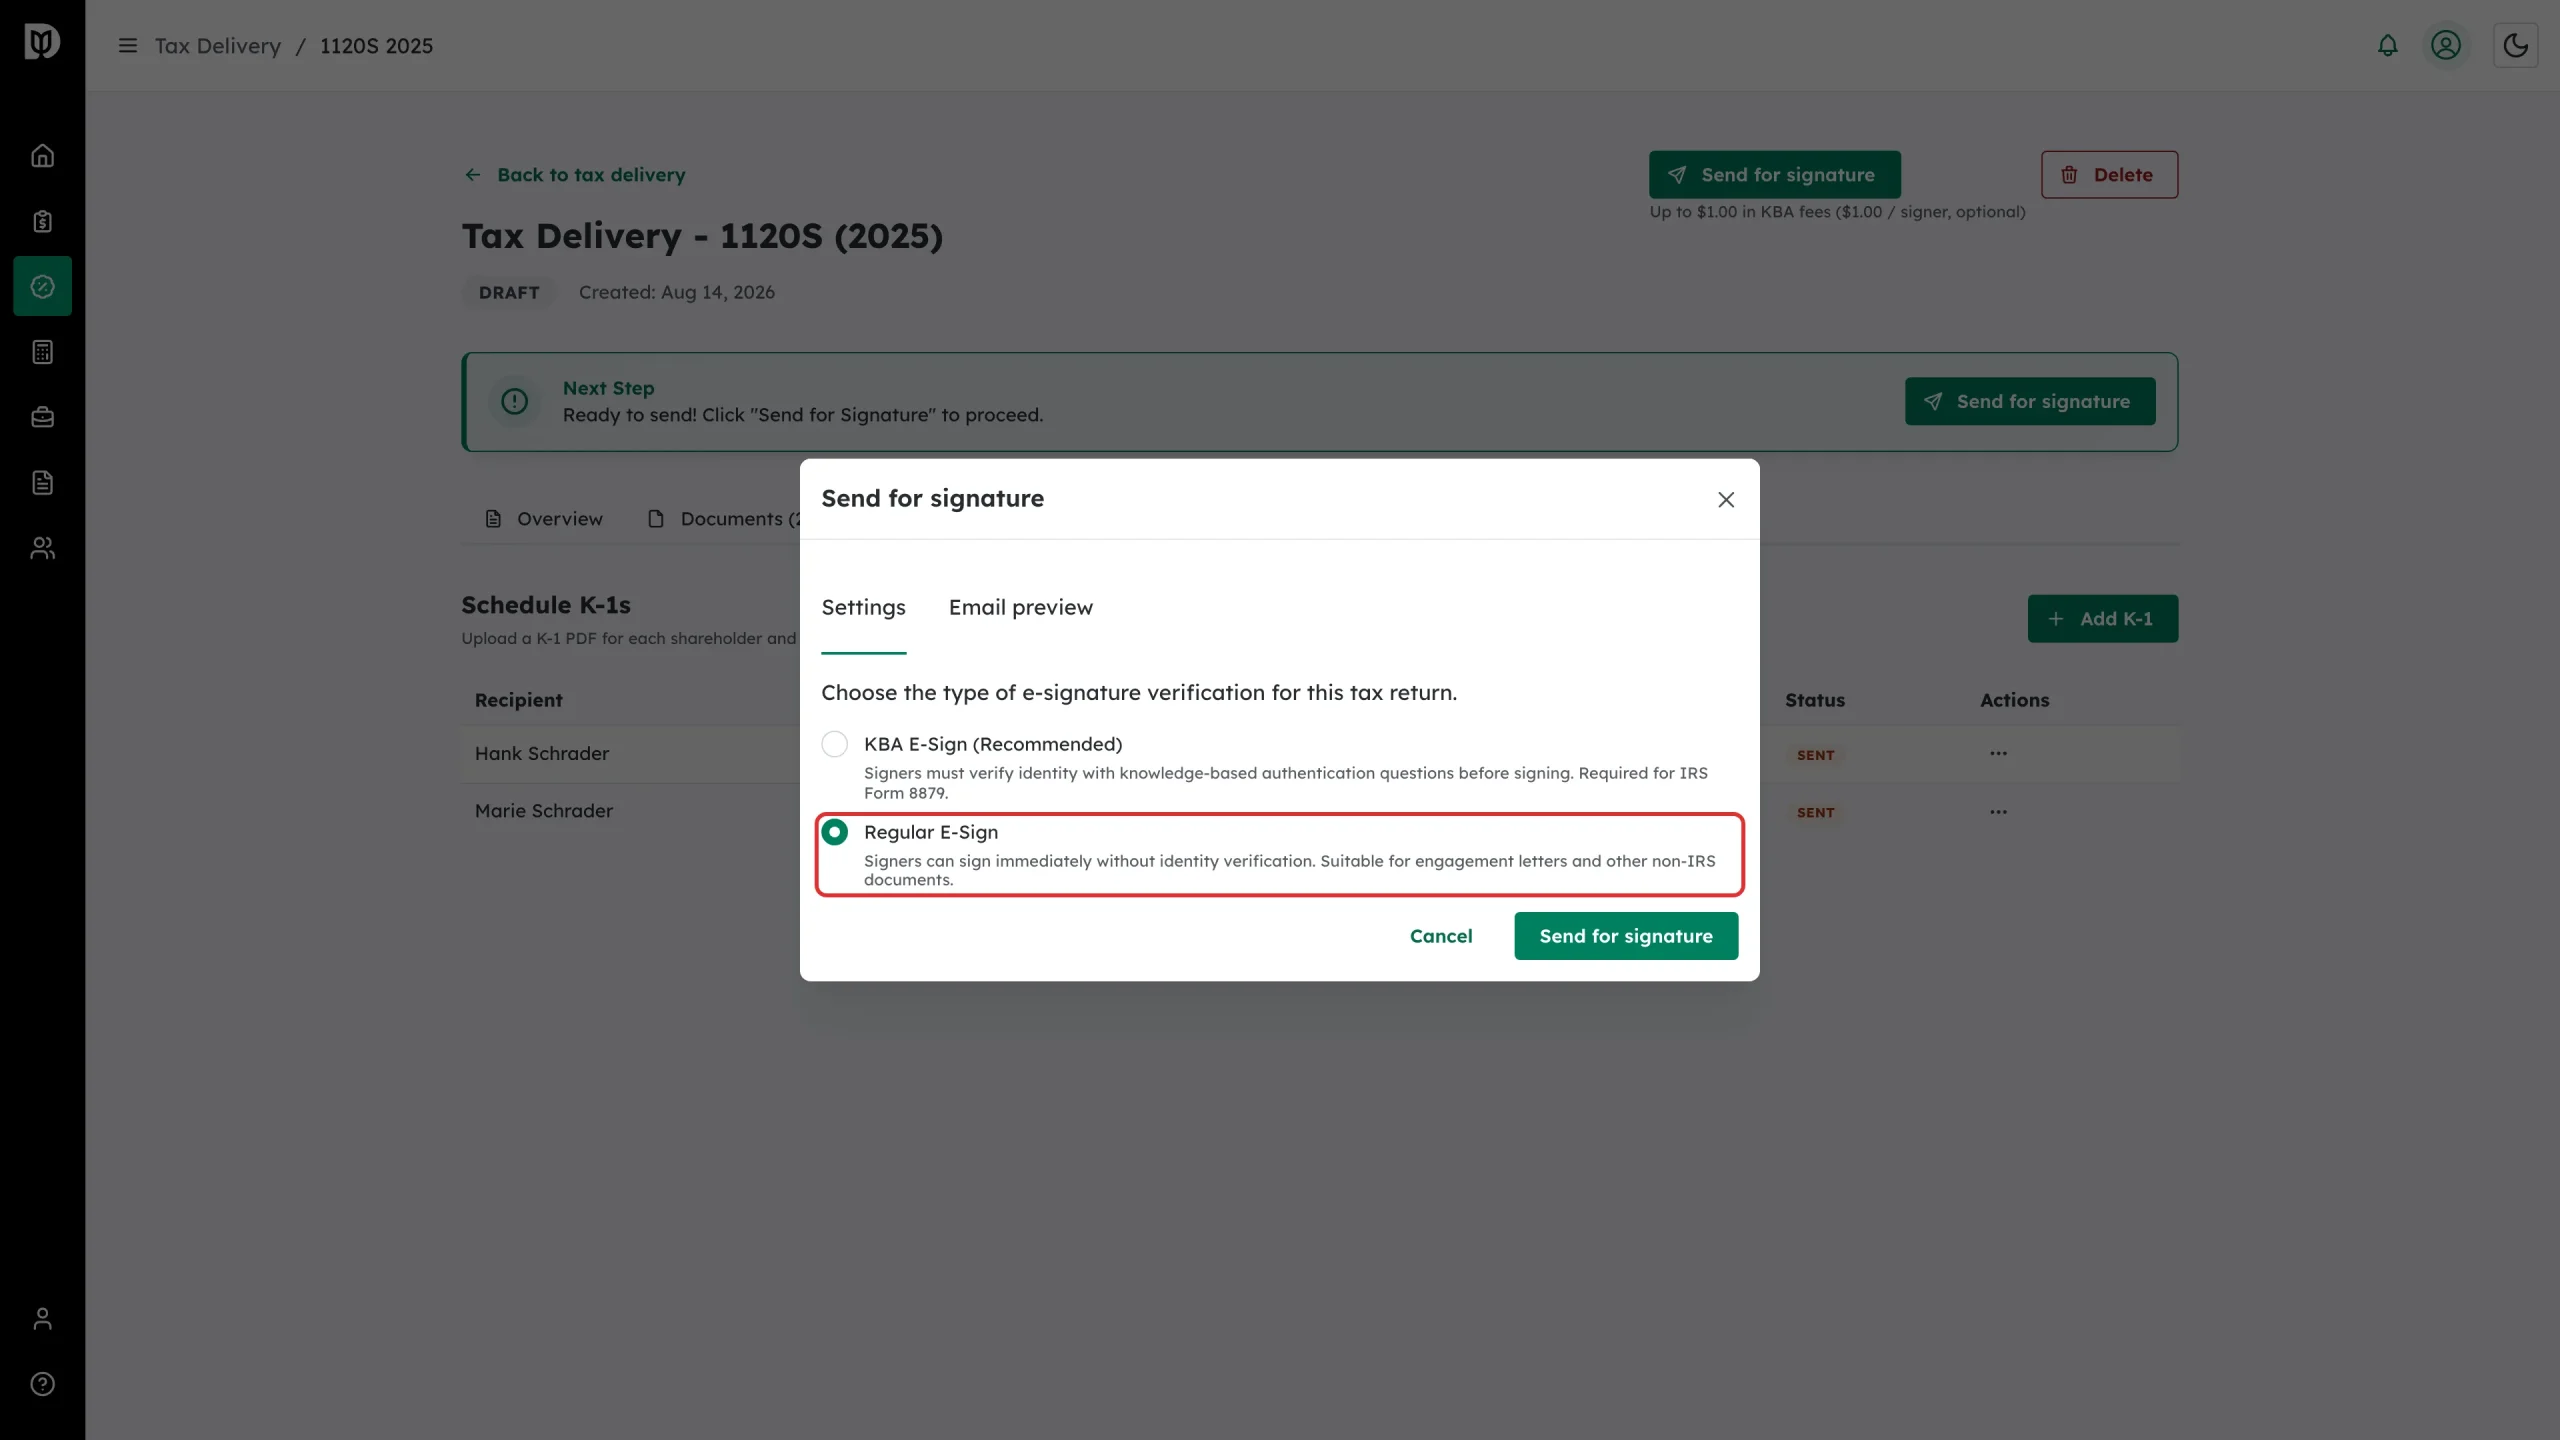
Step 3: Or switch to Regular E-Sign
Select Regular E-Sign if this return does not need identity verification. No KBA fee is charged.
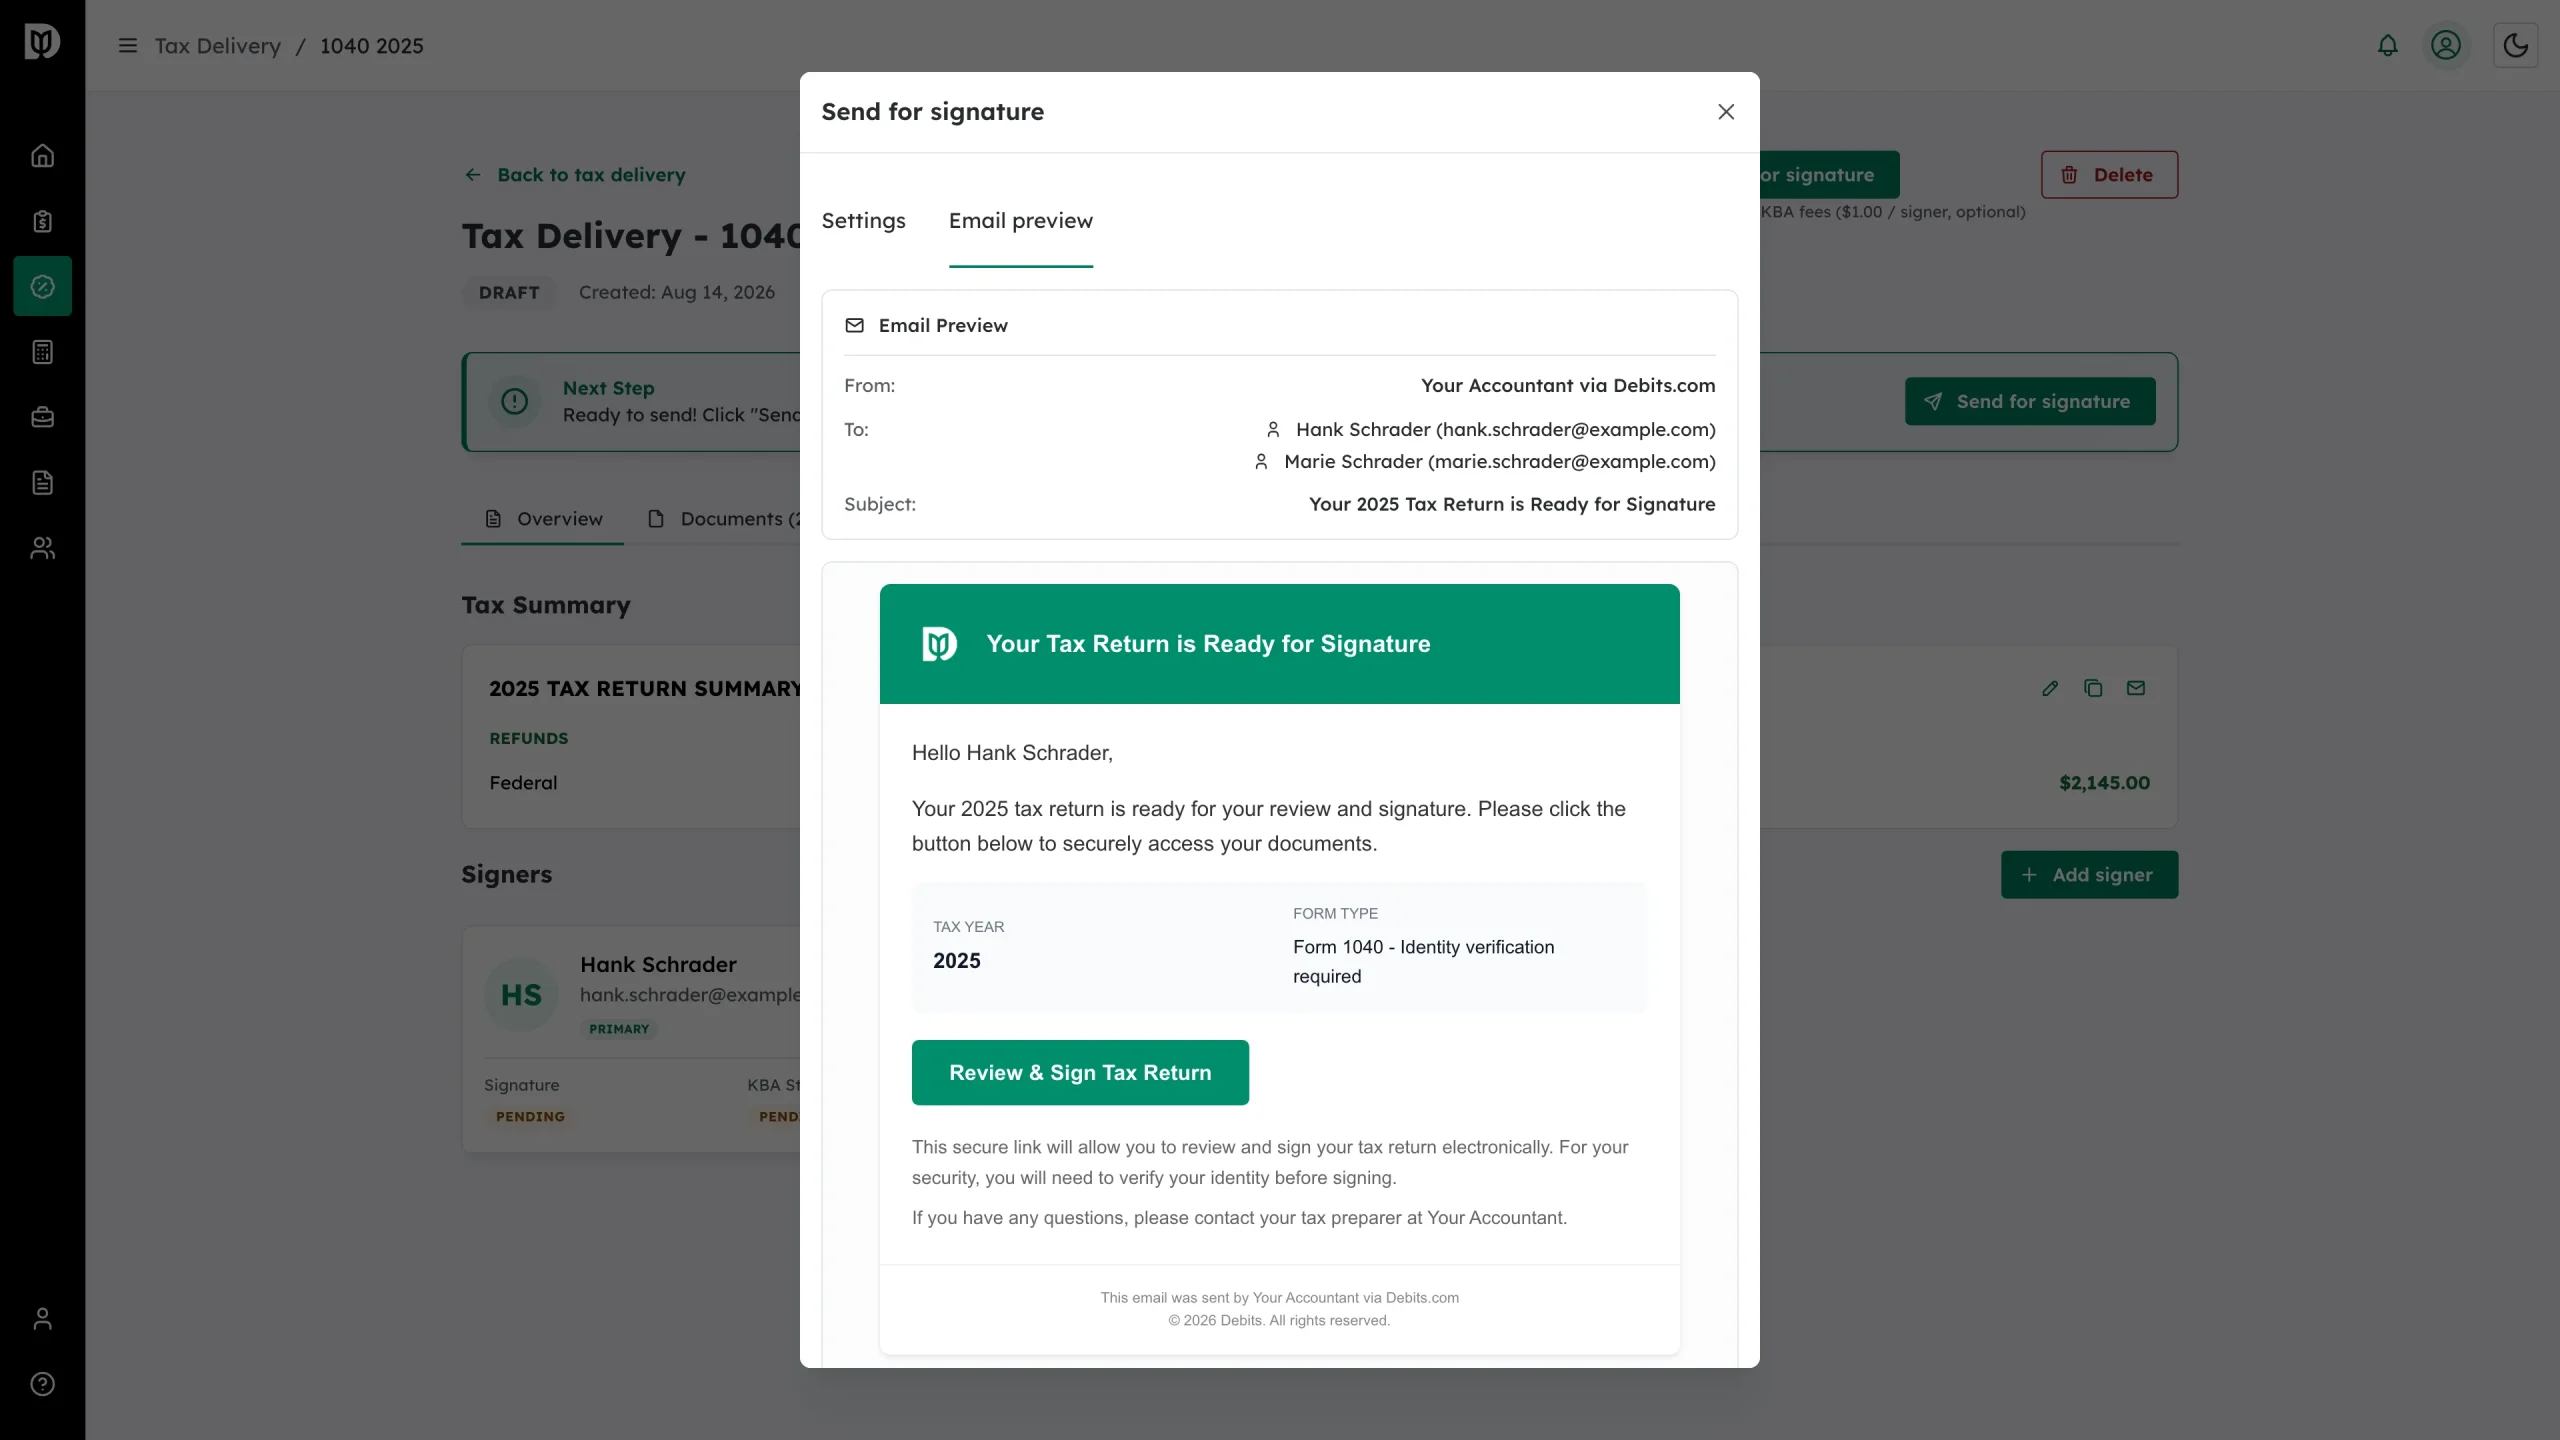
Step 4: Check the email your client will get
Click Email preview. You will see who it is from, every recipient, the subject line, and the full email including the Review & Sign Tax Return button.
Step 5: Send
Click Send for signature in the window. Each signer gets their own secure link.
What happens next
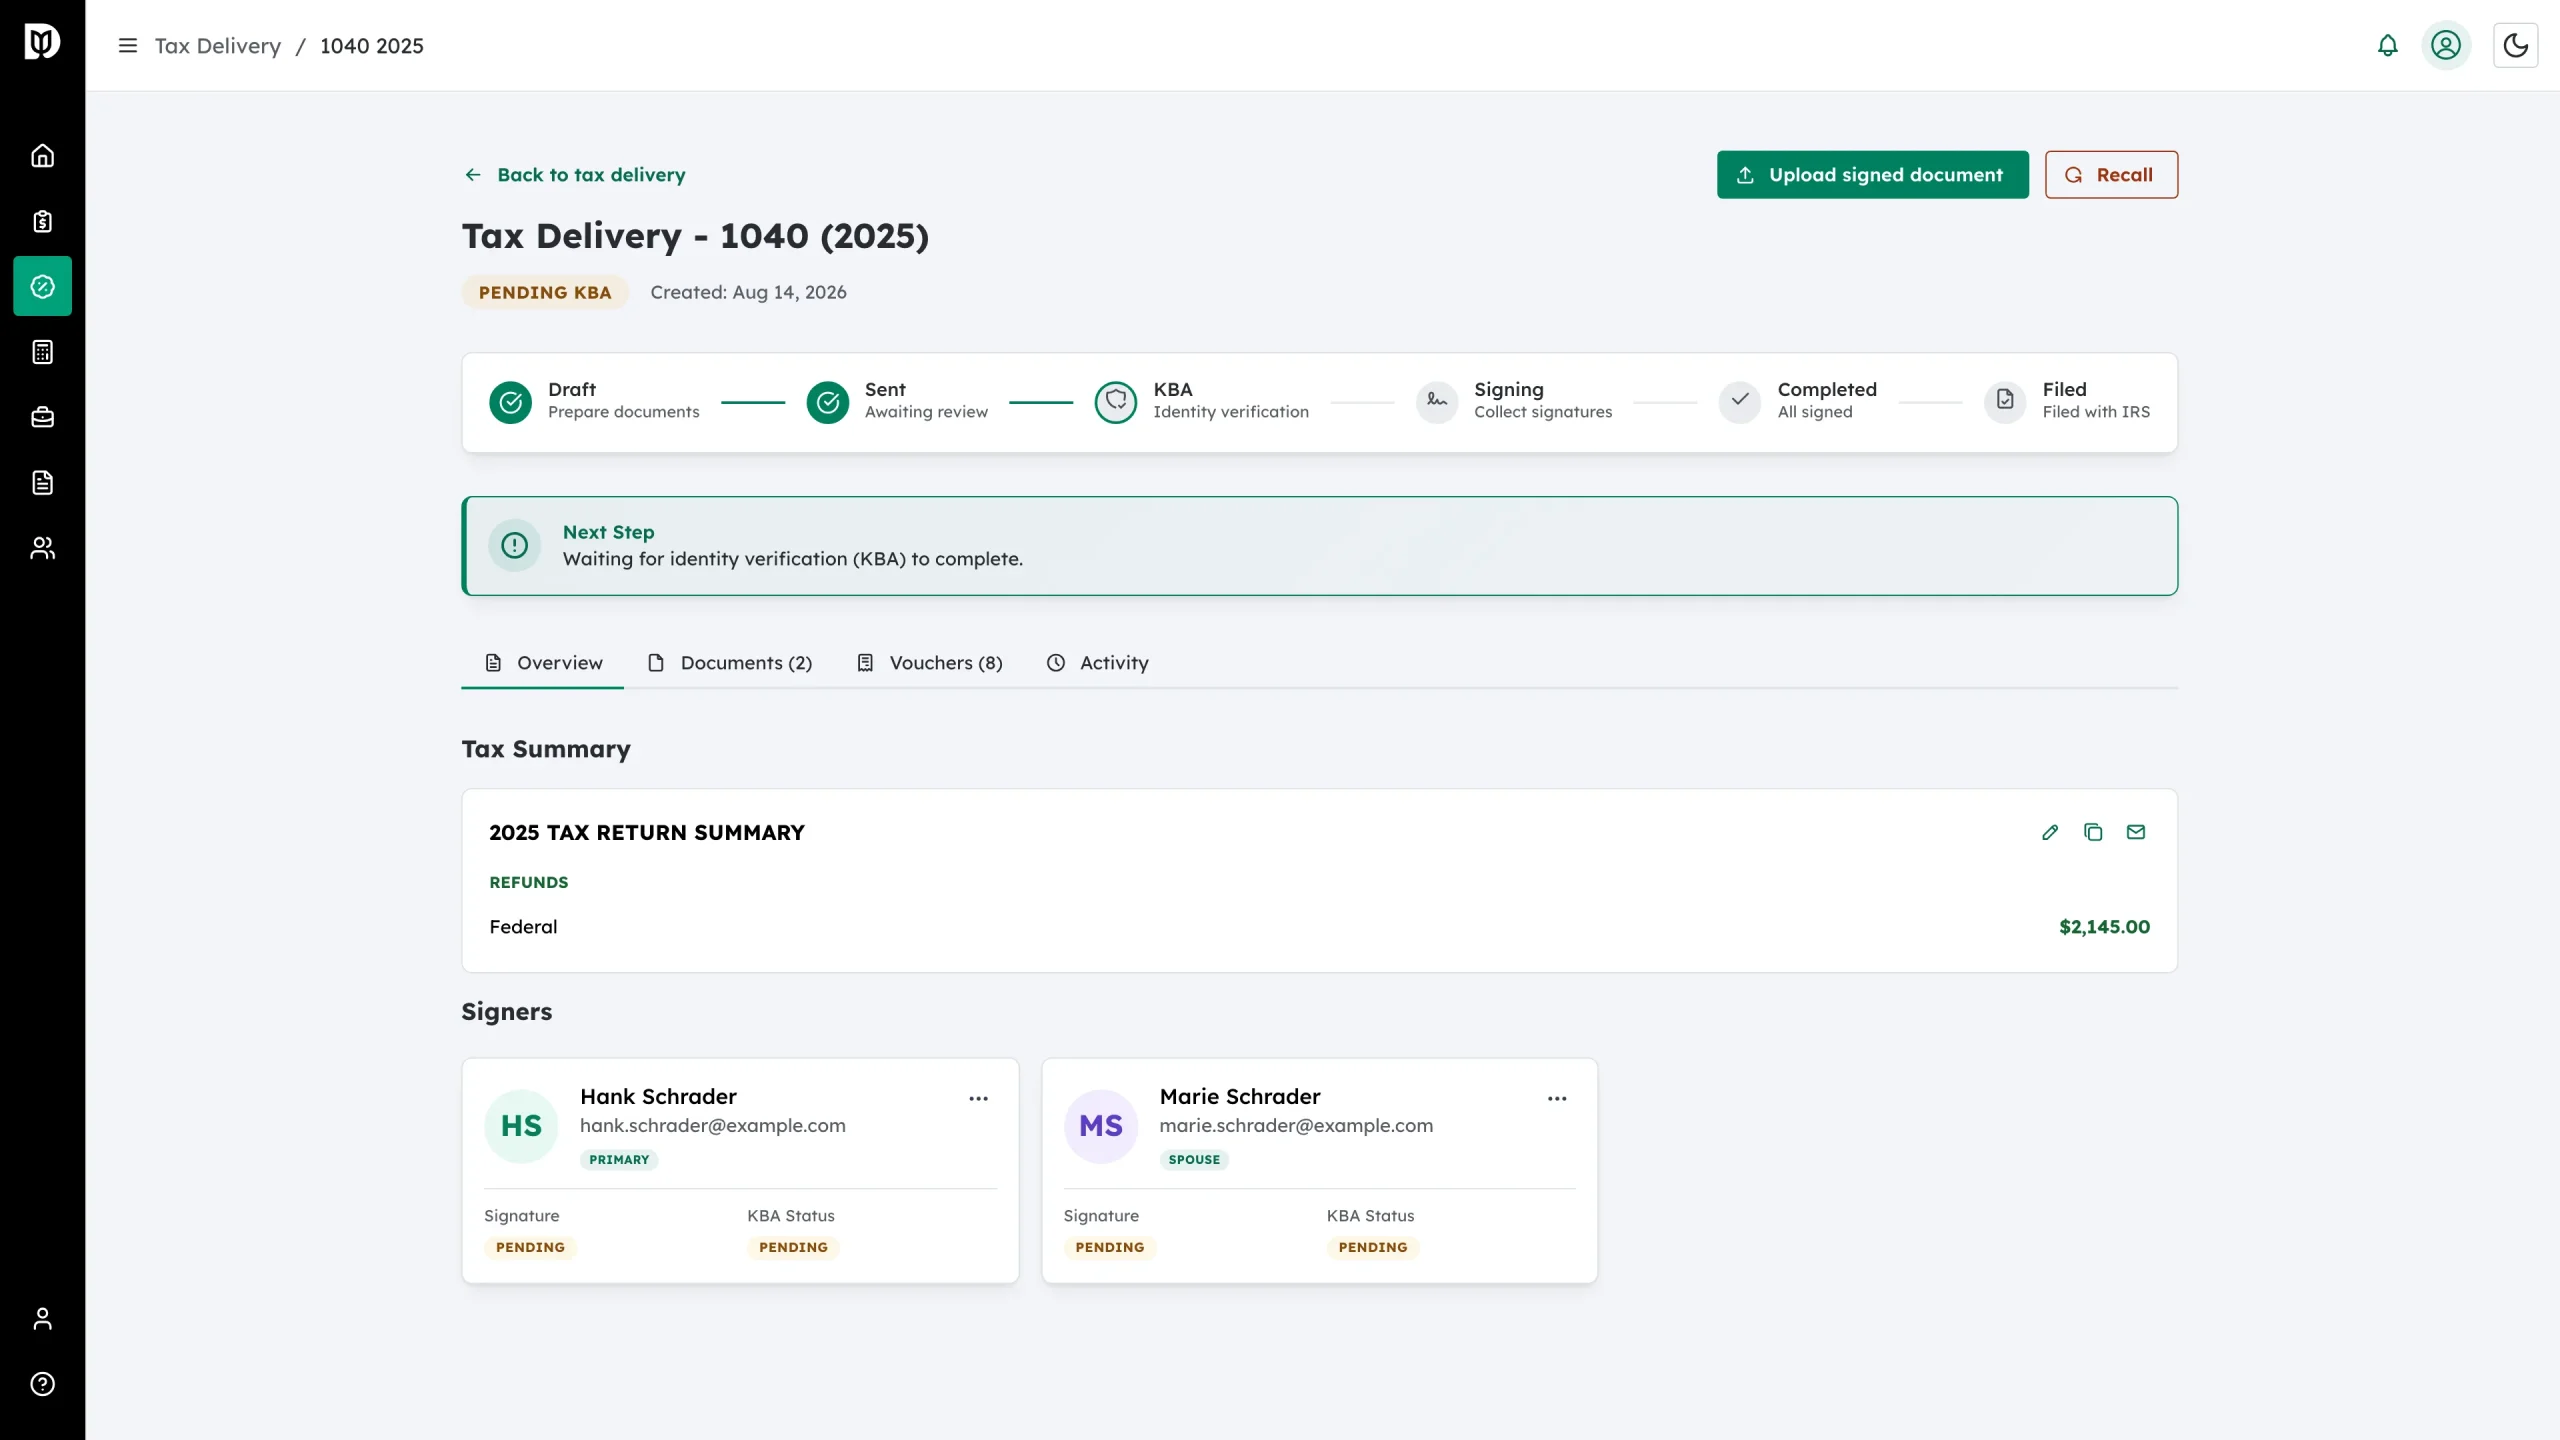
The status badge changes and the progress stepper moves on – to Pending KBA if you chose KBA E-Sign, or straight to signing if you chose Regular E-Sign. Two new buttons appear at the top of the page: Upload signed document, for a client who signs on paper, and Recall, to pull the return back if you spot a problem.
Troubleshooting
- Send for signature is not there: The Next Step card will tell you what is missing – usually documents or signature fields. If nothing is missing, you do not have the Send bulk reminders, send for signature, and file permission.
- A client never got the email: Open the signer’s card menu and choose Send Reminder, and ask them to check their spam folder.
- You sent it too early: Click Recall, fix the return, then send it again.